"In preparing for battle I have always found that plans are useless, but planning is indispensable."
The First Steps
You just saw that picture of Yosemite Valley or Angels Landing in Zion National Park for the hundredth time. Social media, Reddit, and friends are constant reminders of the massive world that is outside of your state and you feel stuck.
Exploration is instinctive and in a world lacking discovery we are left with a similar emptiness inside of us. But how can you explore? You have no budget for a flashy vacation, no experience in the outdoors, and no clue where to start. That's okay! We've all been there! Backpacking is the answer - it is an affordable and rewarding way to satisfy Wanderlust. You'll be amazed at how easy it is to go on adventures once you have a little experience under your belt.
So you want to go on your own adventure and dreaming about going on your first overnight backpacking trip. You’ve heard of the importance of reaching your miles for the day and having the right food along with tales of horror stories pertaining to bears and getting lost. Simply the thought of backpacking can easily become overwhelming and intimidating, but in reality, planning an overnight backpacking trip is no more difficult than planning any other form of travel. This is going to be a very high-level look at how to break past the first barrier to backpacking - the willingness to try.
Why should you listen to me?
I am uniquely positioned when it comes to backpacking. Only getting into the sport myself in 2015, I was right where you once stood. I wasn't trained when I was young, I wasn't taught when I was young, I simply grabbed some friends and a backpack and went off. I learned through making mistakes. Hopefully, I can advise you away from making some of the same beginner mistakes I made starting off.
Since 2015, I've visited every state, having backpacked in most of them. I'm currently a full-time writer for a company in the outdoor industry, and an avid outdoors enthusiast.
"Plans change day one". After hearing that phrase from a fellow hiker, I've adopted it as my personal maxim. There are simply too many variables to account for when planning long distance travel into the wilderness. The weather, driving time, missing daily mile milestones, acquiring permits, and finding places to stay, have all impacted my trips. You have to be emotionally prepared to make compromises and change plans as needed.
As President Eisenhower said in our opening quote, plans are useless but planning is indispensable, you have to be able, and willing, to patch plans together, possibly last minute, to make the best of your trip.
First Questions
There are a few ways to get started when planning for a trip. I like to start at 10,000 feet and work my way down. I ask myself the following questions:
-What do I want to see? glaciers, mountains, deserts, forests, or coastlines?
-How far do I want to hike / how many days do I want to spend on the trail?
-How much time do I have?
-How far am I willing to drive? Can I fly near?
-Where have I already been? Do I want to go again?
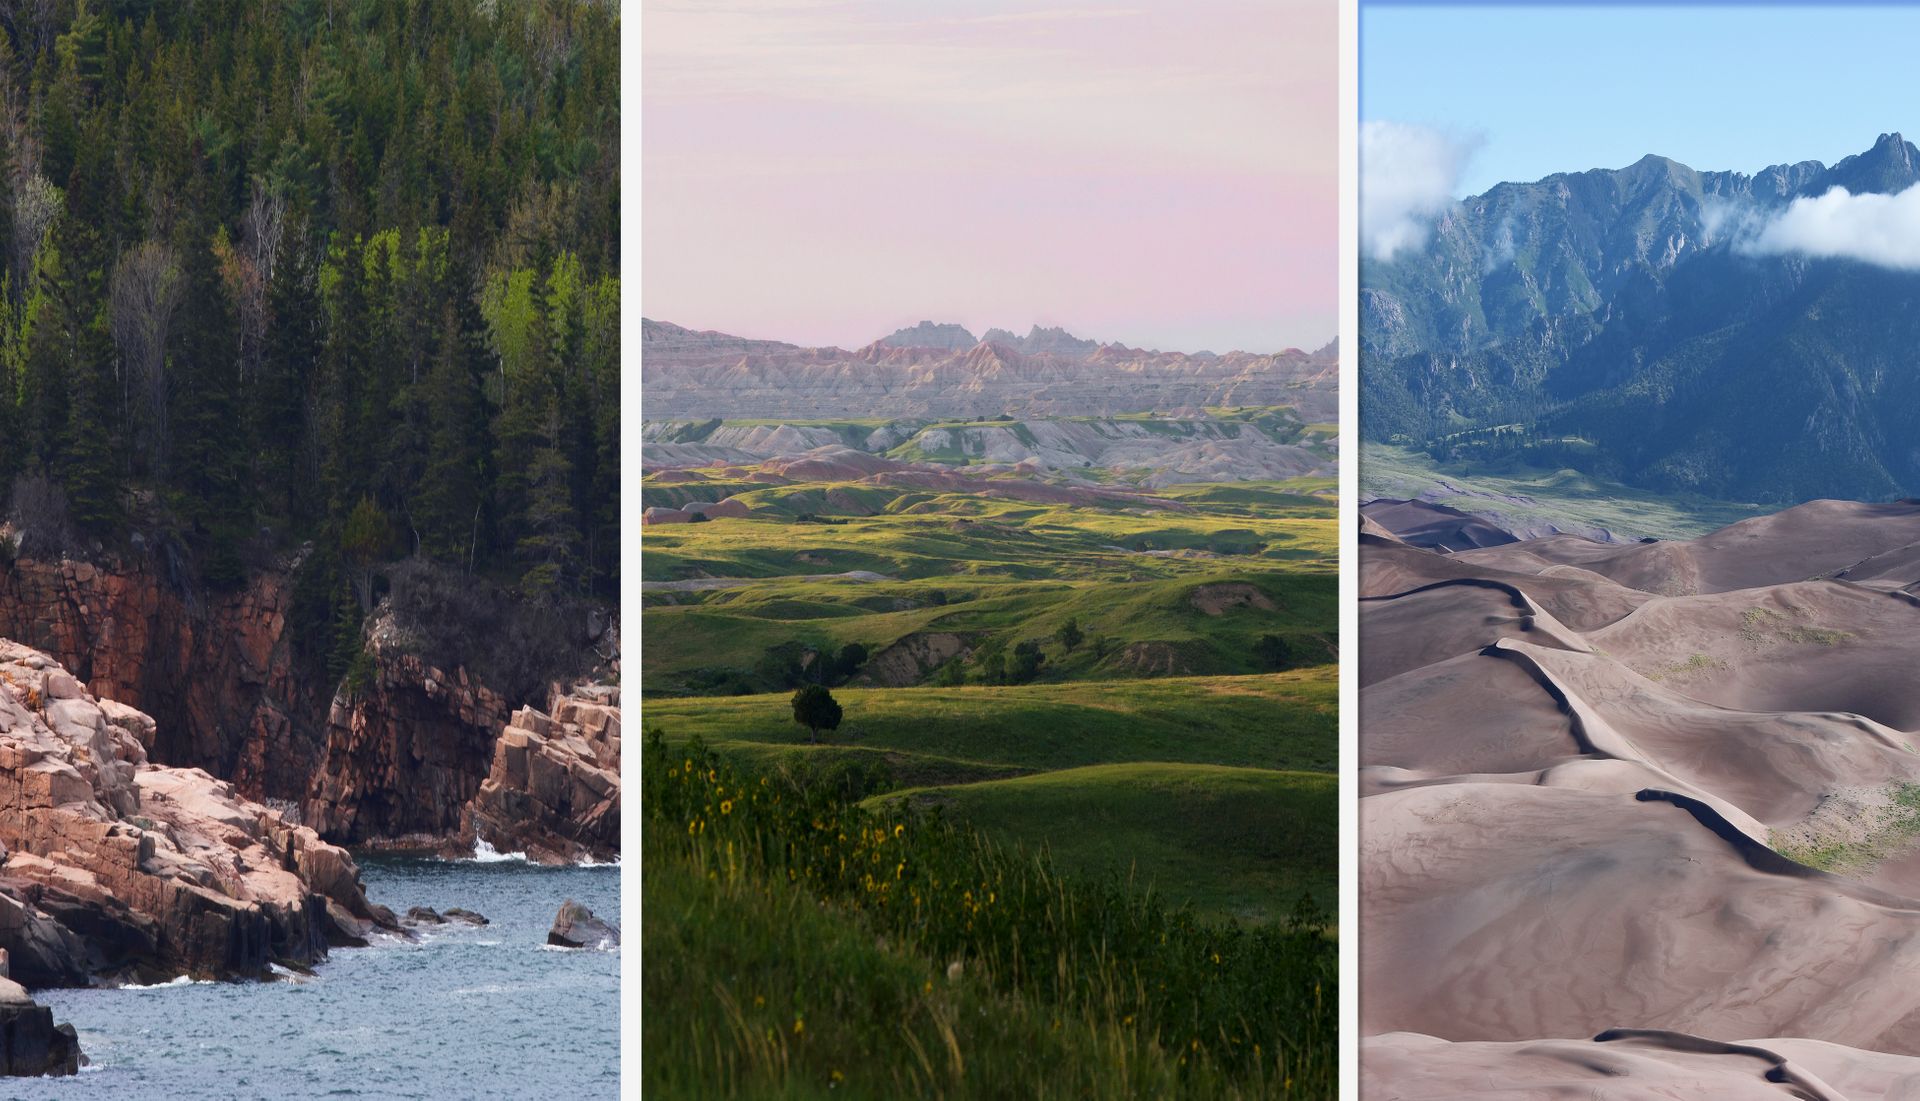
These questions will help narrow down some of your options. For example, if you want to see granite-sided mountains you can cross off most of the south (sorry south!) if you want coastline don't bother looking at the central states, and if you want to see deserts, the east won't be an option. The process might sound simple, but option paralysis is an issue you may run into. Start crossing off options and see what you have left.
Along with what you want to see, another (possibly the largest) is time. How much time do you have to take off of work or school? Depending on where you are, a weekend might be enough time to find an adventure, but if you are looking to driving or fly somewhere further away, you have to consider that in your total time off. For example, I planned a week-long hike in Wyoming, but I was leaving from Houston, Texas and driving. . . I had to consider that driving was going to take me at least two days there and back - totaling almost a full workweek. So I requested two weeks off.
Say you have two weeks off, and you want to go on a week adventure, not including the days traveling. Draw a circle on a map covering an area that you can reach within a two-day distance. Now mark the areas you aren't interested in - such as desert or coast - look what that leaves you with left. In the leftover area, you can start looking for the next step - that perfect hike.
Finding the Hike
Before you find a trail, you need to find the park. This is where option paralysis can really hit. The United States has so many great options when it comes to parks that it becomes difficult to choose which ones to visit. It might be easy to look at only the big national parks, but remember, national forests, wilderness areas, and national monuments are also worth checking out. In fact, I have found some more beautiful and much more secluded spots outside of the national parks.
Once you know what park you want to visit, you need to find the perfect trail or trails. Let's take Big Bend National Park in Texas as an example (one of my all-time favorite parks). A simple Google search will reveal that the park has hundreds of miles of trails - what miles are the best for you?
Side note: Google Maps is single-handedly the most helpful tool when trying to find remote areas to explore. Dragging and dropping the yellow "street view" guy onto the map will reveal amazing places!
I start by looking at the distance of the trails. Anything over 12 miles is a good distance for multi-day hikes, a trail closer to 30 miles might take two or more days to hike. Keep in mind that backpacking is probably not like any sport you have done before. Six miles doesn't sound so far, how hard can walking be? Backpacking is quite physically challenging, a mile will take much longer than you think to hike, especially if you are going over difficult terrain and mountains. A 15-mile day is difficult, especially for beginners. Try sticking to 10 miles or under until you get a sense of what your body can handle.
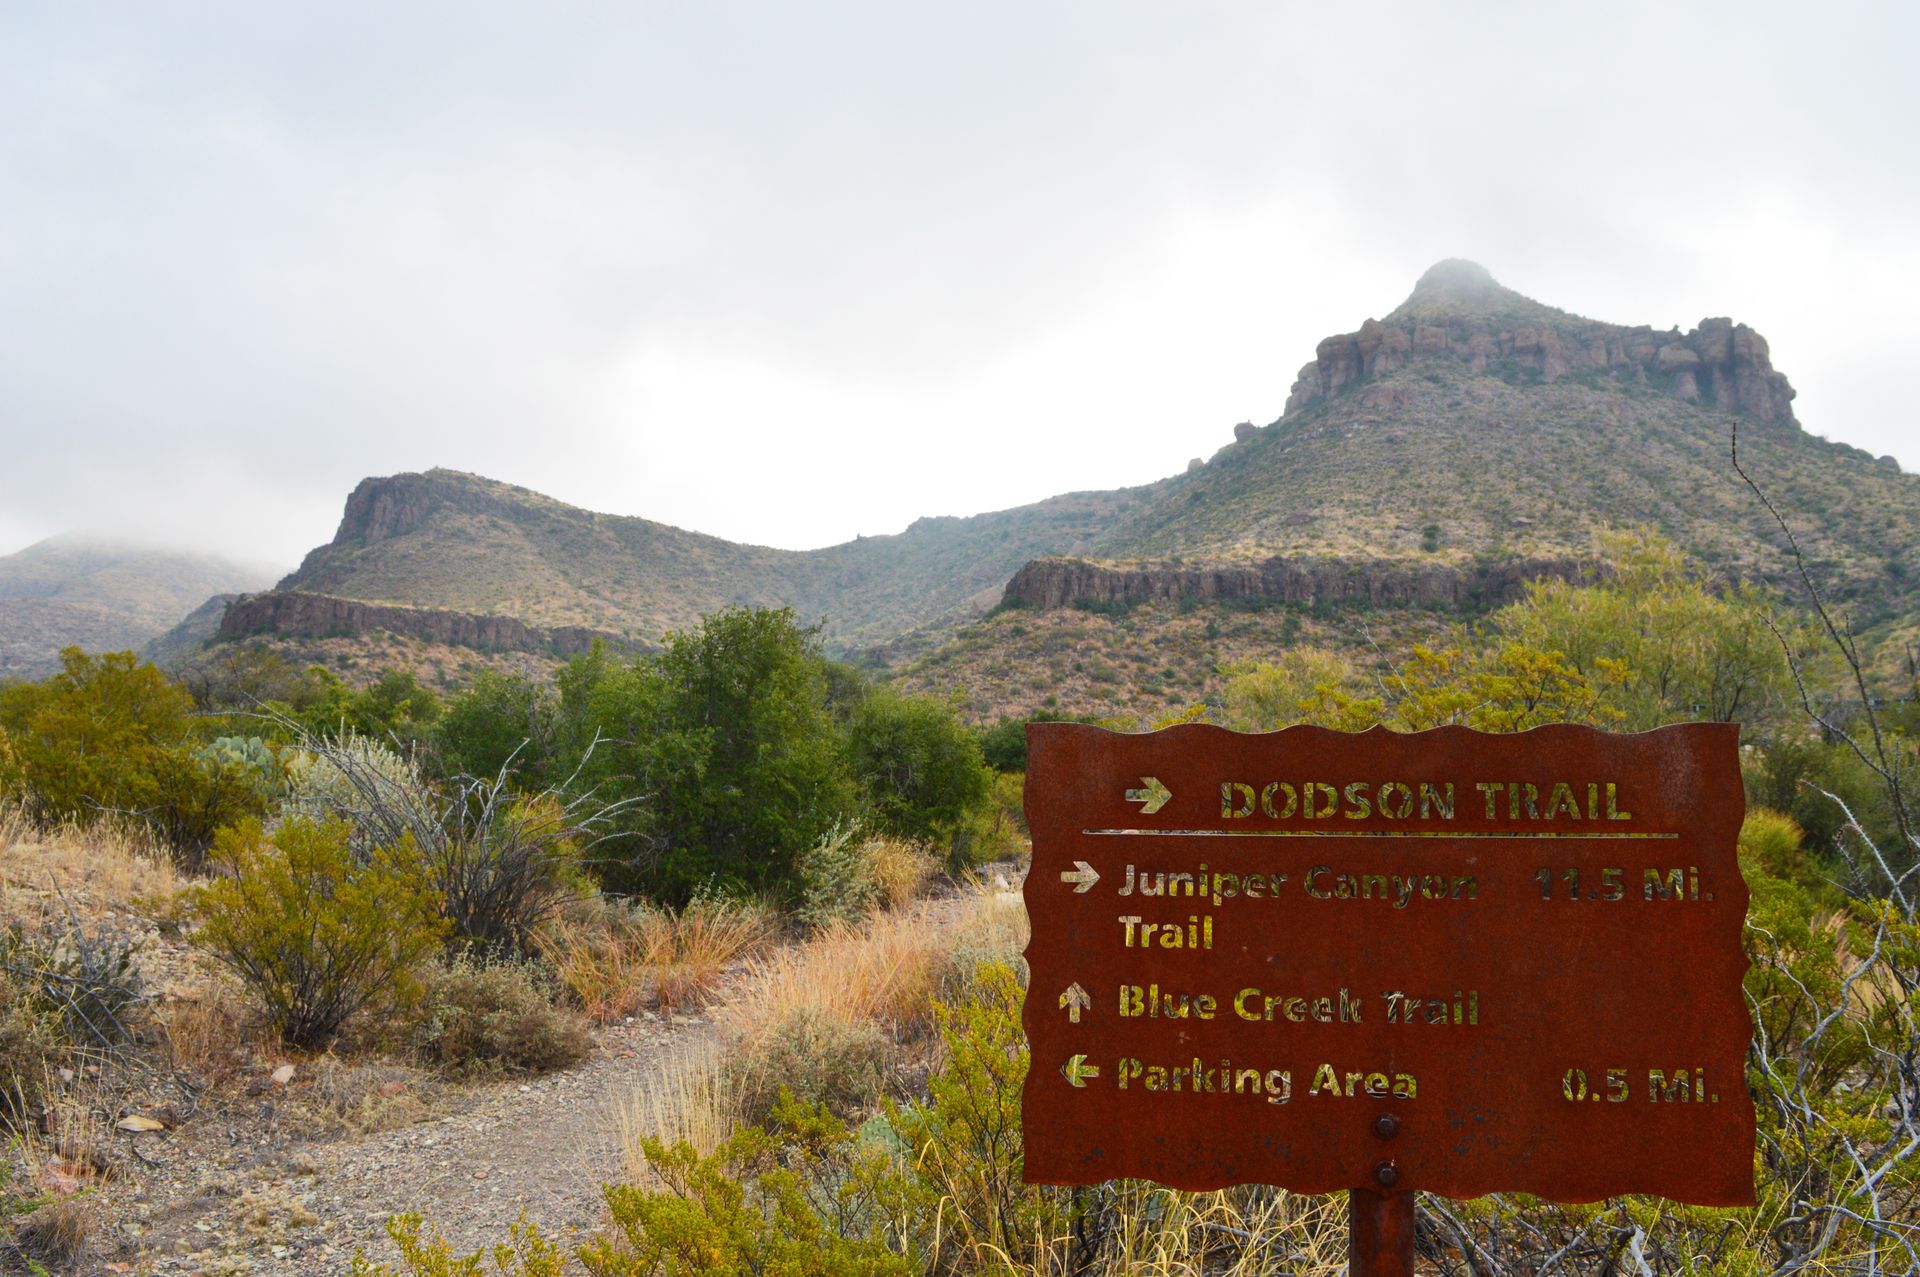
Let's go back to our example at Big Bend and take a look at some of their trails. The South Rim Trail sticks right out! At 14.5 miles the trail could easily be broken into an overnight hike. Take a closer look at the trail map.
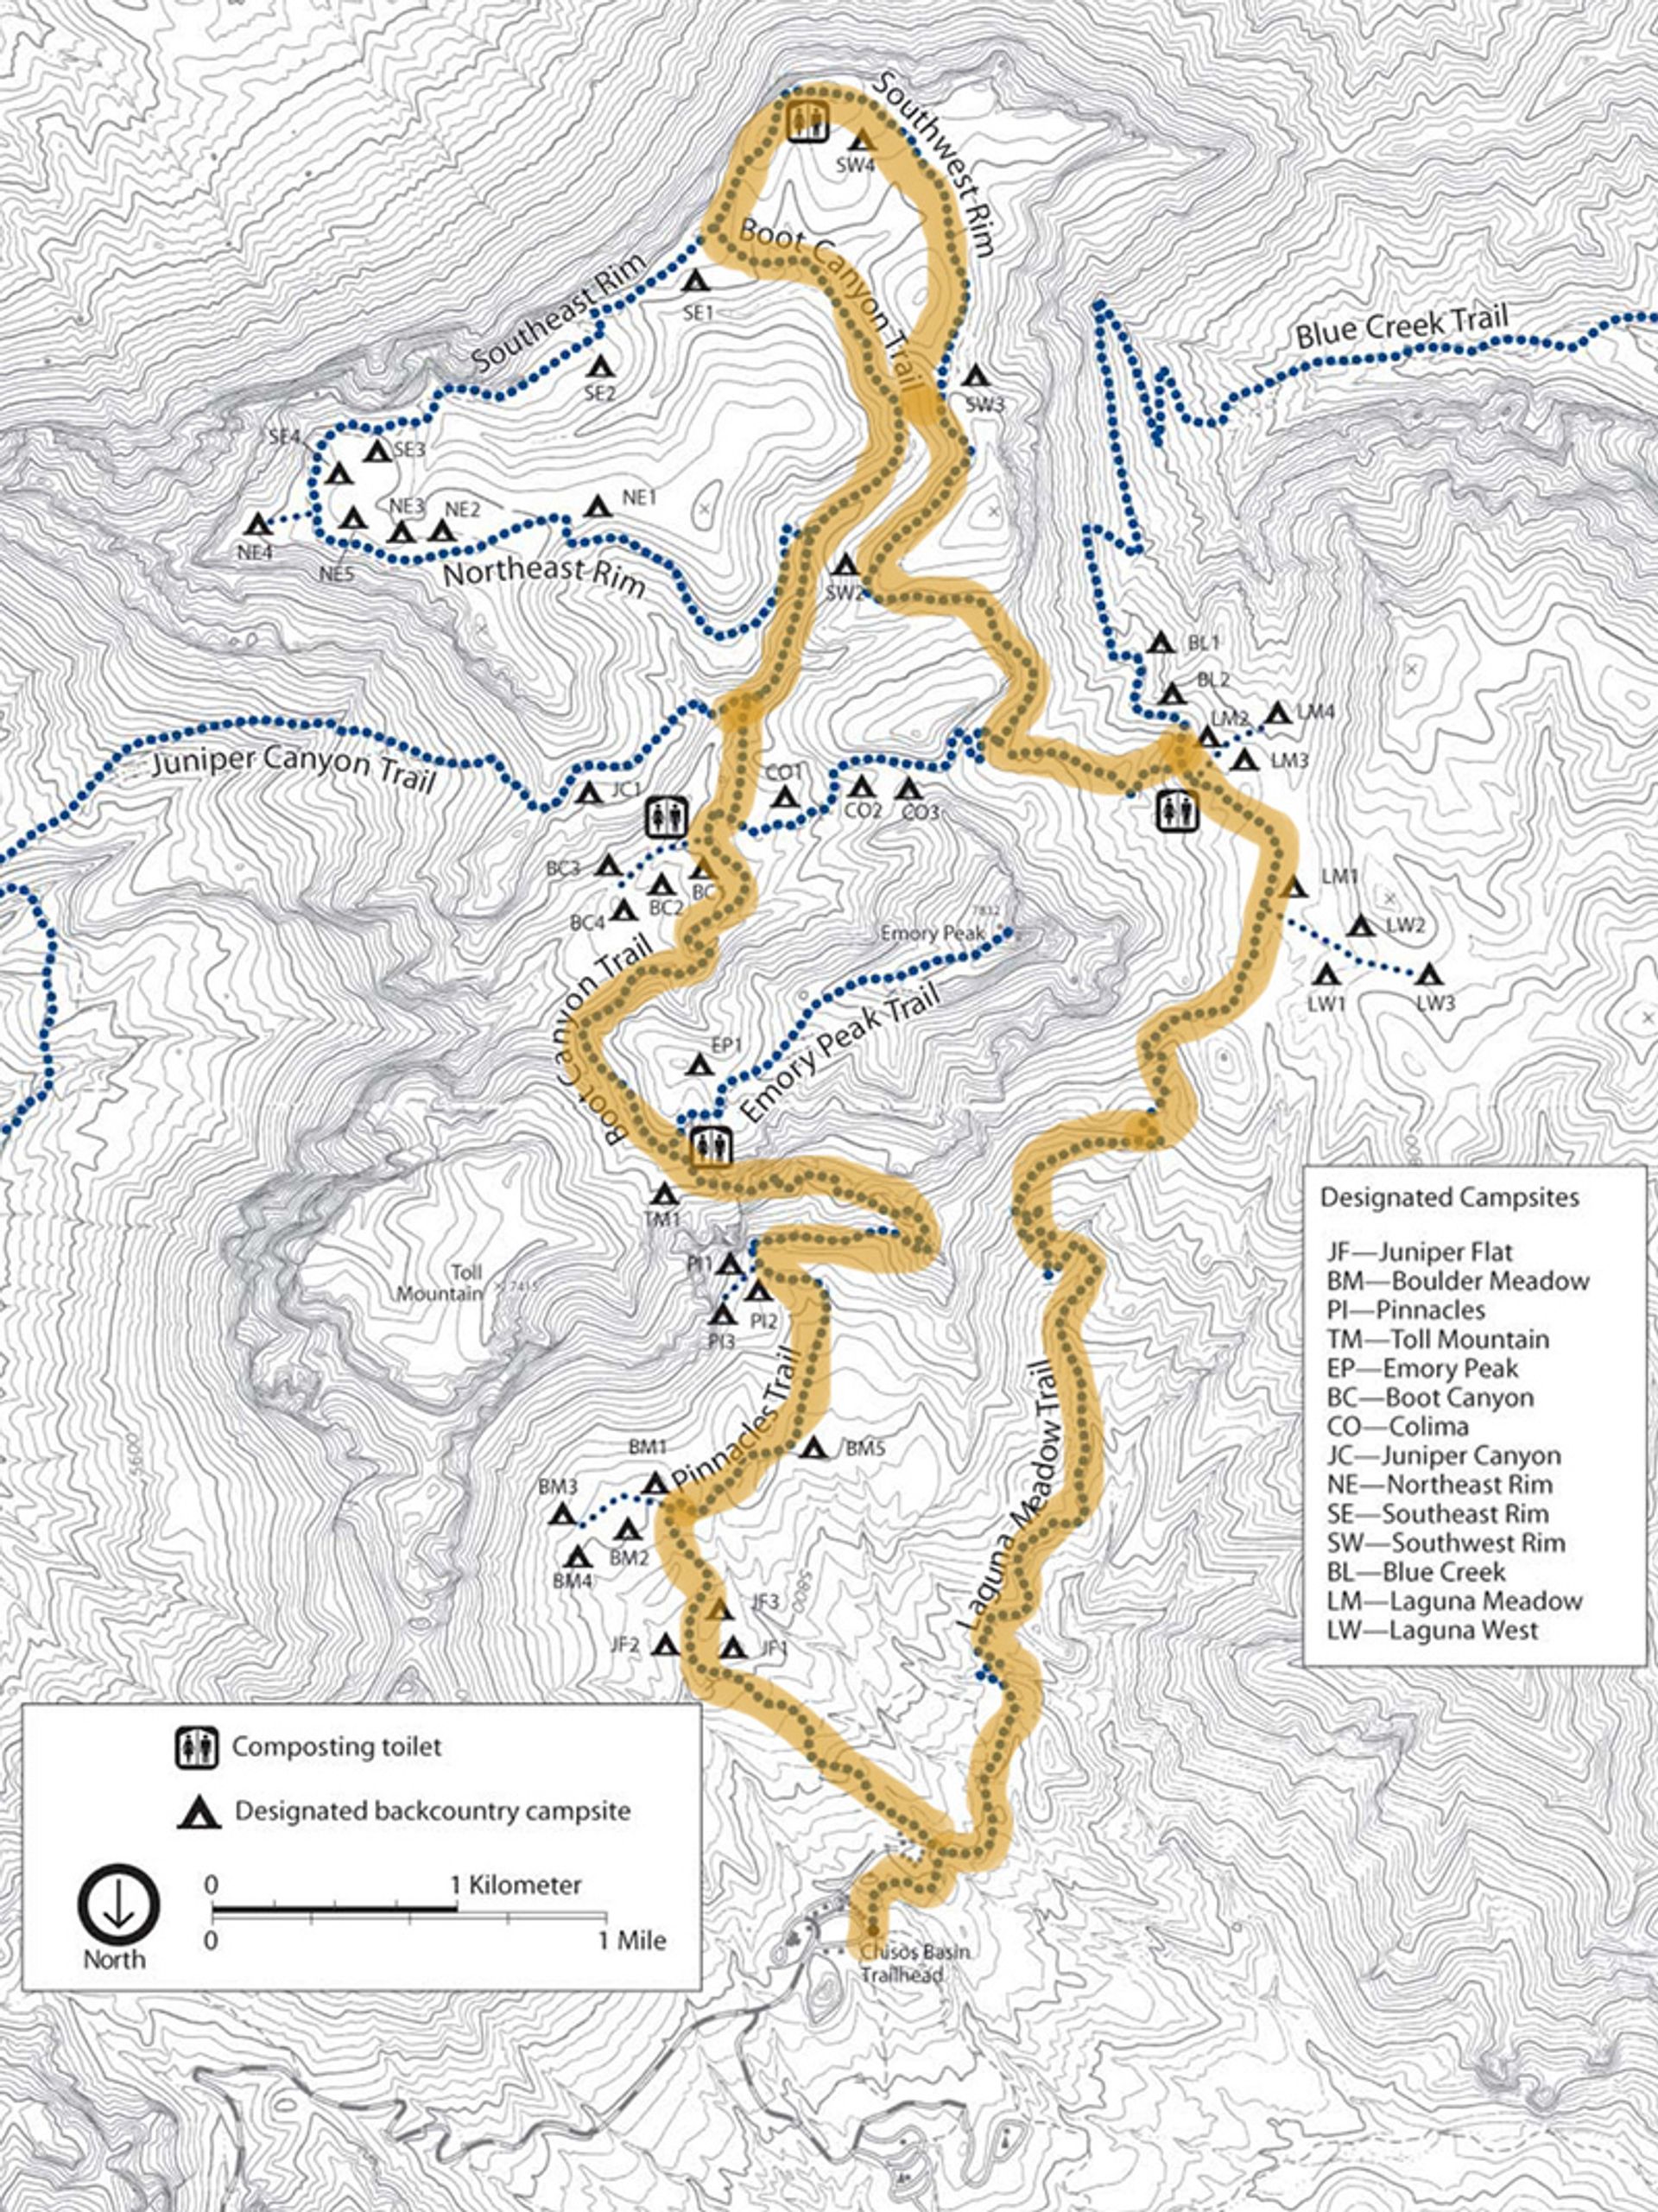
The South Rim Trail looks great for a few reasons. First, as previously mentioned, the distance is right on point (maybe a little short for an overnight, but stick with me). Second, look at the Southeast and Southwest portion of the map you can see little tents, they represent backcountry campsites. They are perfectly placed at about the halfway point of the trail. Talk to the rangers and see if you can snag one of those spots, if not, don't worry, there are more spots throughout the rest of the trail. Third, Boot Canyon trail passes right by the trail to Emory Peak Trail - the highest point of the park - a perfect detour if you find yourself with extra time!
The South Rim was one of my all-time favorite hikes, and I found it by simply asking the ranger at the front office what he would suggest. I walked into Big Bend with no plans and came out with one of the greatest experiences of my backpacking tenure. Don't be afraid to ask the rangers for suggestions, they will be more than willing to help, and you have to talk to them anyway to reserve a backcountry campsite and a permit.

Starting Gear
Okay! Now that we have a trail selected, what do we need to make it happen? Well, a few things...
Also, please know I'm not sponsored by any company. I've never received a single penny from advertisements or other. The list below is genuinely exactly what I ordered to kickstart my adventures cheaply.
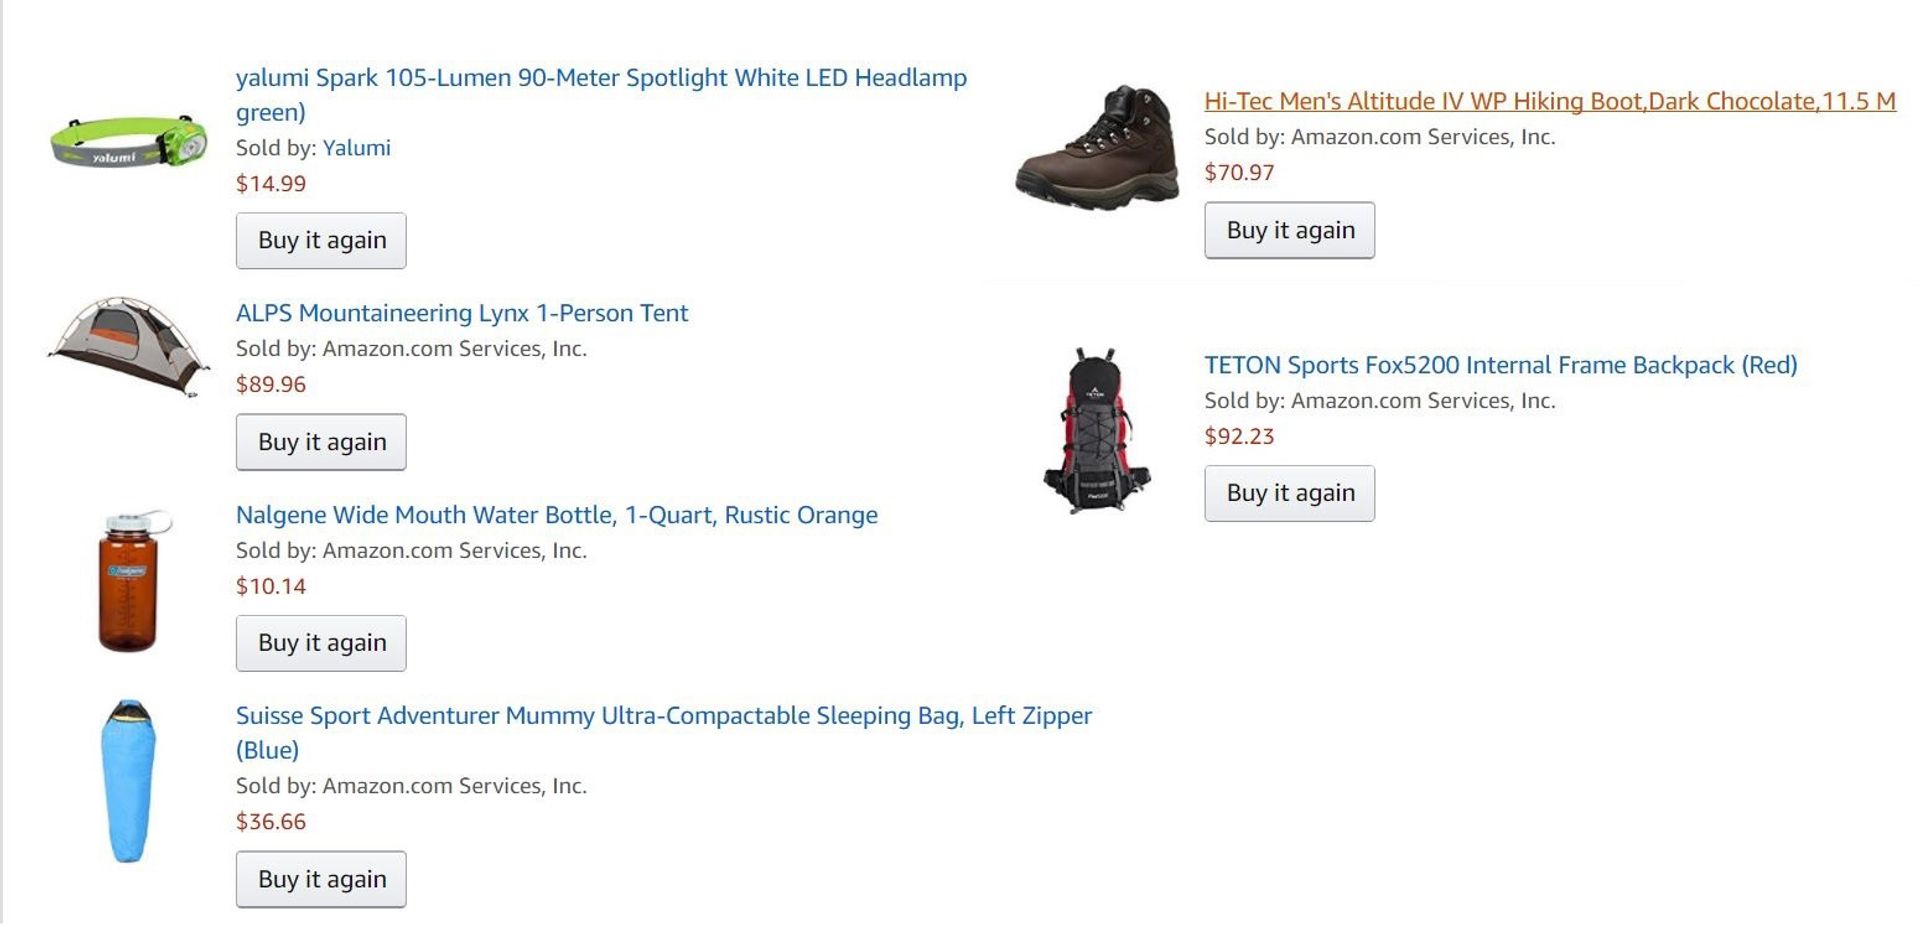
Compared to staying in hotels and eating out every night, backpacking is generally an extremely cheap method of travel (perfect for us college-debted Millennials). Unfortunately, the only time you have to really spend some money is when you are getting your gear for the first time. Luckily, the equipment is meant to last, so investing a little money upfront is important, but remember, you don’t need to break the bank. Affordable, decent gear, is easy to find thanks to the Internet. I used the same backpack, sleeping bag, boots, and tent for three years before upgrading any of them. Together the four items cost me just over $300 which is cheaper than a few nights at any hotel. To this day (2018) I still my tent for every adventure, also, both the backpack and sleeping bag are still usable - the boots fell apart, but that wasn’t before I put nearly 500 miles on them. I beat the hell out of that gear and it has always treated me well.
Requirements for all overnight hikes:
- Hydration: Water bottles, water purification, and water filters.
- Illumination: Headlamp, flashlight, and extra batteries.
- First aid: Gauze, band-aids, antiseptic wipes, blister treatment, Ibuprofen, and medical tape.
- Backpack: Main backpack, day pack/summit pack, and backpack rain fly/pack cover.
- Shelter: Tent/hammock, footprint or tarp, sleeping bag, and sleeping pad.
- Food: Bear vault/bivvy, bowl, mug, utensils, camping soap, and dish towel.
- Clothing: (depending on weather) Wicking t-shirt, wicking underwear, quick-dry pants, long sleeve shirt, hat, rain jacket, gloves, and fleece jacket.
- Permits: possibly free or 5 to 10 dollars.
- Navigation: Map (always), and possibly a GPS and compass (if you are going off-trail).
Hydration:
Water is clearly extremely important, especially when you are pushing yourself physically for 6-10 hours in a day.
The main items under hydration are bladders, bottles, and filters.
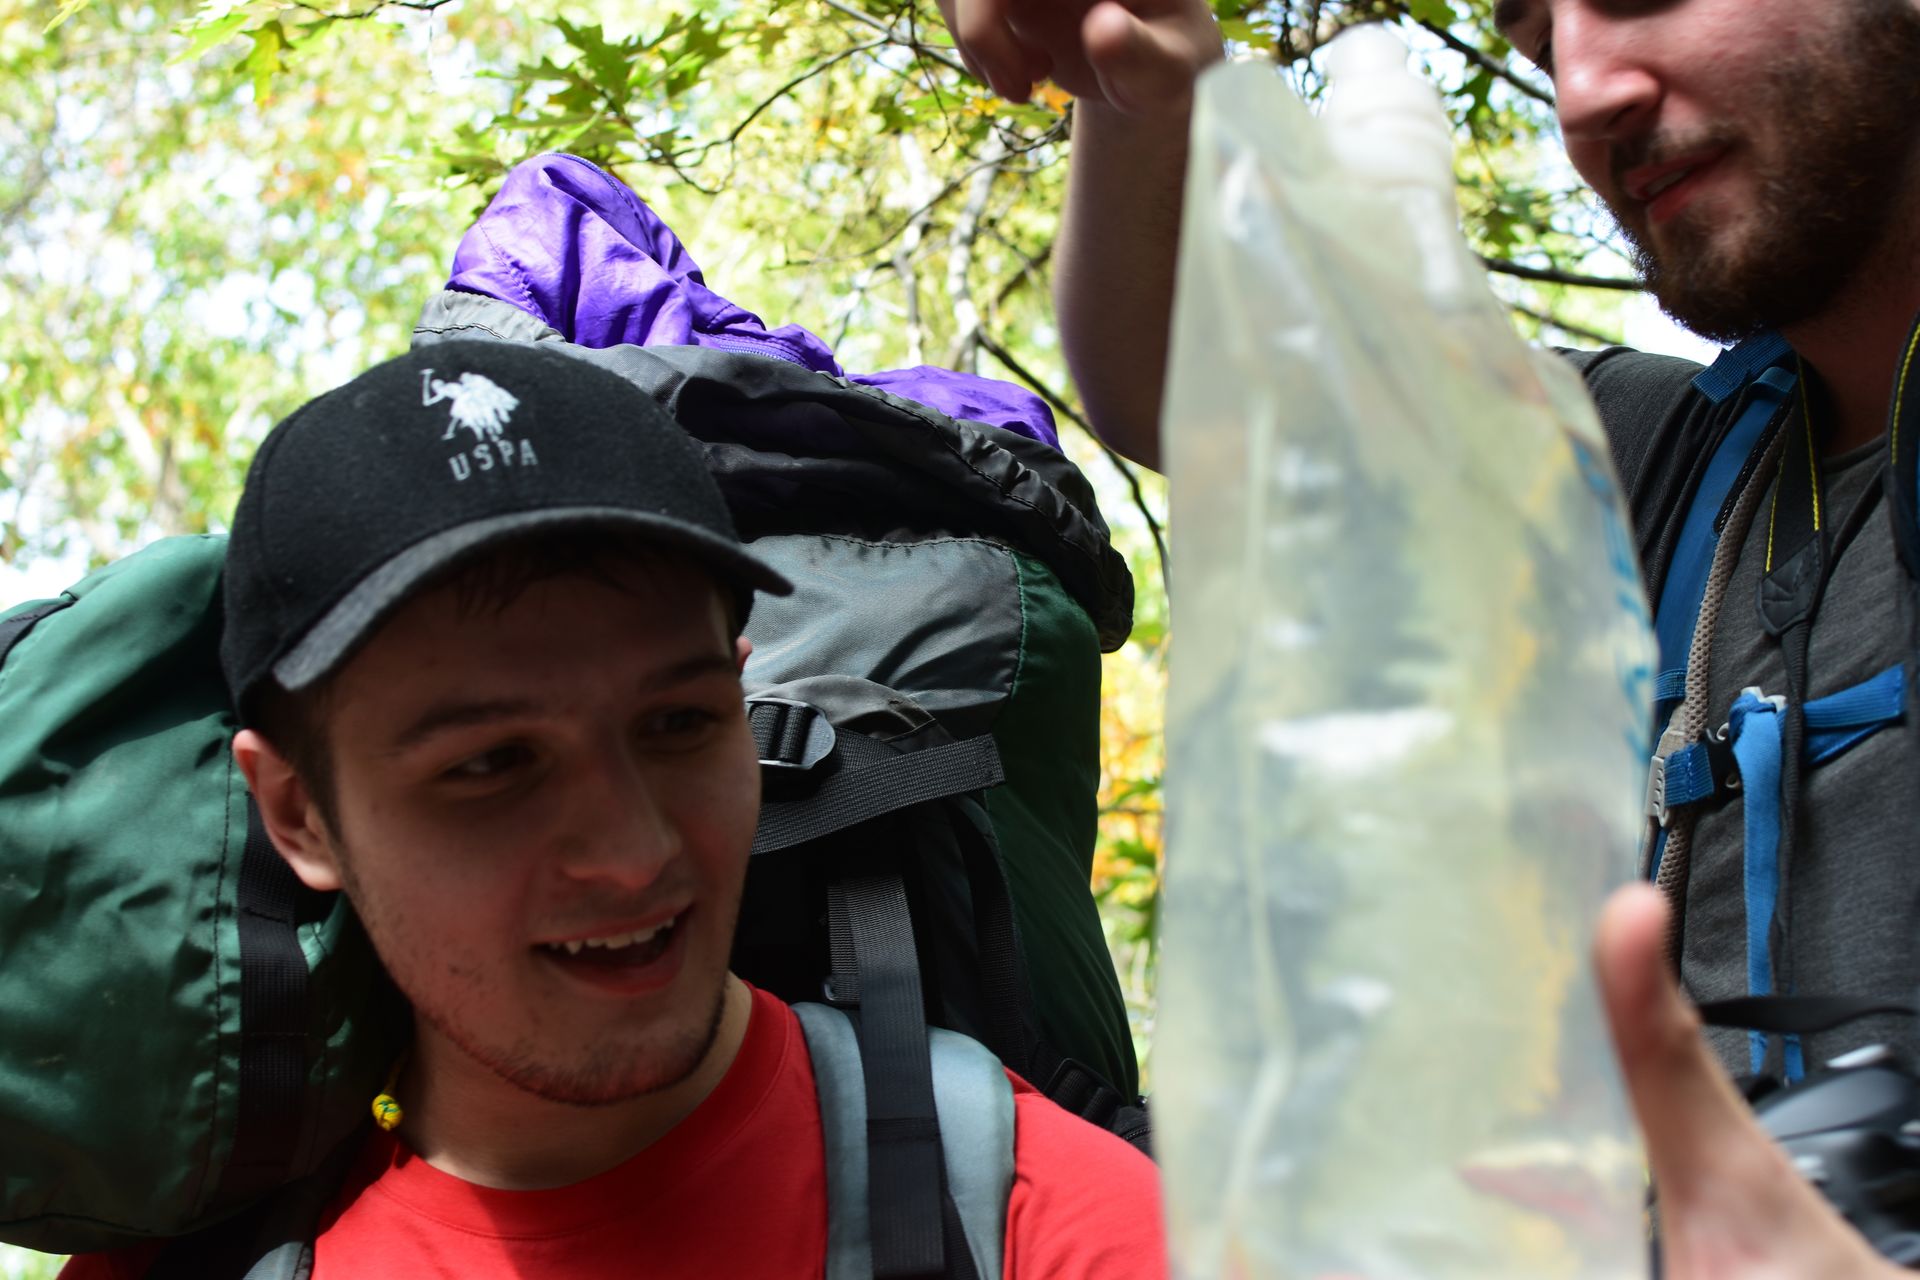
Bladders - Bladders are soft-plastic water containers that are malleable compared to their hard-plastic water bottle companions. Bladders are great because they can hold a lot of water and they'll fit into your bag. I tend to use bottles more than bladders, but if you are hiking in an area with no natural water sources, you'll want to be able to carry as much water as possible.
Water Bottles - Water bottles are your go-to vessel for water. There are thousands of types of water bottles, but most hikers tend to stick with two or three different brands. Nalgene Bottles are a personal favorite of mine, they carry a liter or more, they are nearly indestructible, they are simple, and you can cover them in stickers to show-off where you have been. However, many hikers choose disposable Smartwater Bottles, because they are light and more importantly, the filters are able to screw directly on to them.
Filters - Finally, to complete your hydration requirements, you need a filter. There are dozens of filters and tablets that make nearly all water you find potable. The filter I use is one of the most popular - the Sawyer Filter. It is easy to use, effective, very affordable, and super light. I bring my water filter everywhere, even in areas where I am told have no water sources. I just leave it in my bag because it is better to have it than not. Sawyers can be found everywhere, even Walmart has them in stock now.
There are hundreds of different suggestions on how much one should drink. I have heard that drinking one ounce per pound of your body weight per day is a good amount. I have also heard that drinking eight, 8 oz glasses of water a day as well. It is hard to measure how much you are drinking in a day, especially on the trail. The general rule of thumb is to simply drink when you are thirsty - which will be often.
Illumination:
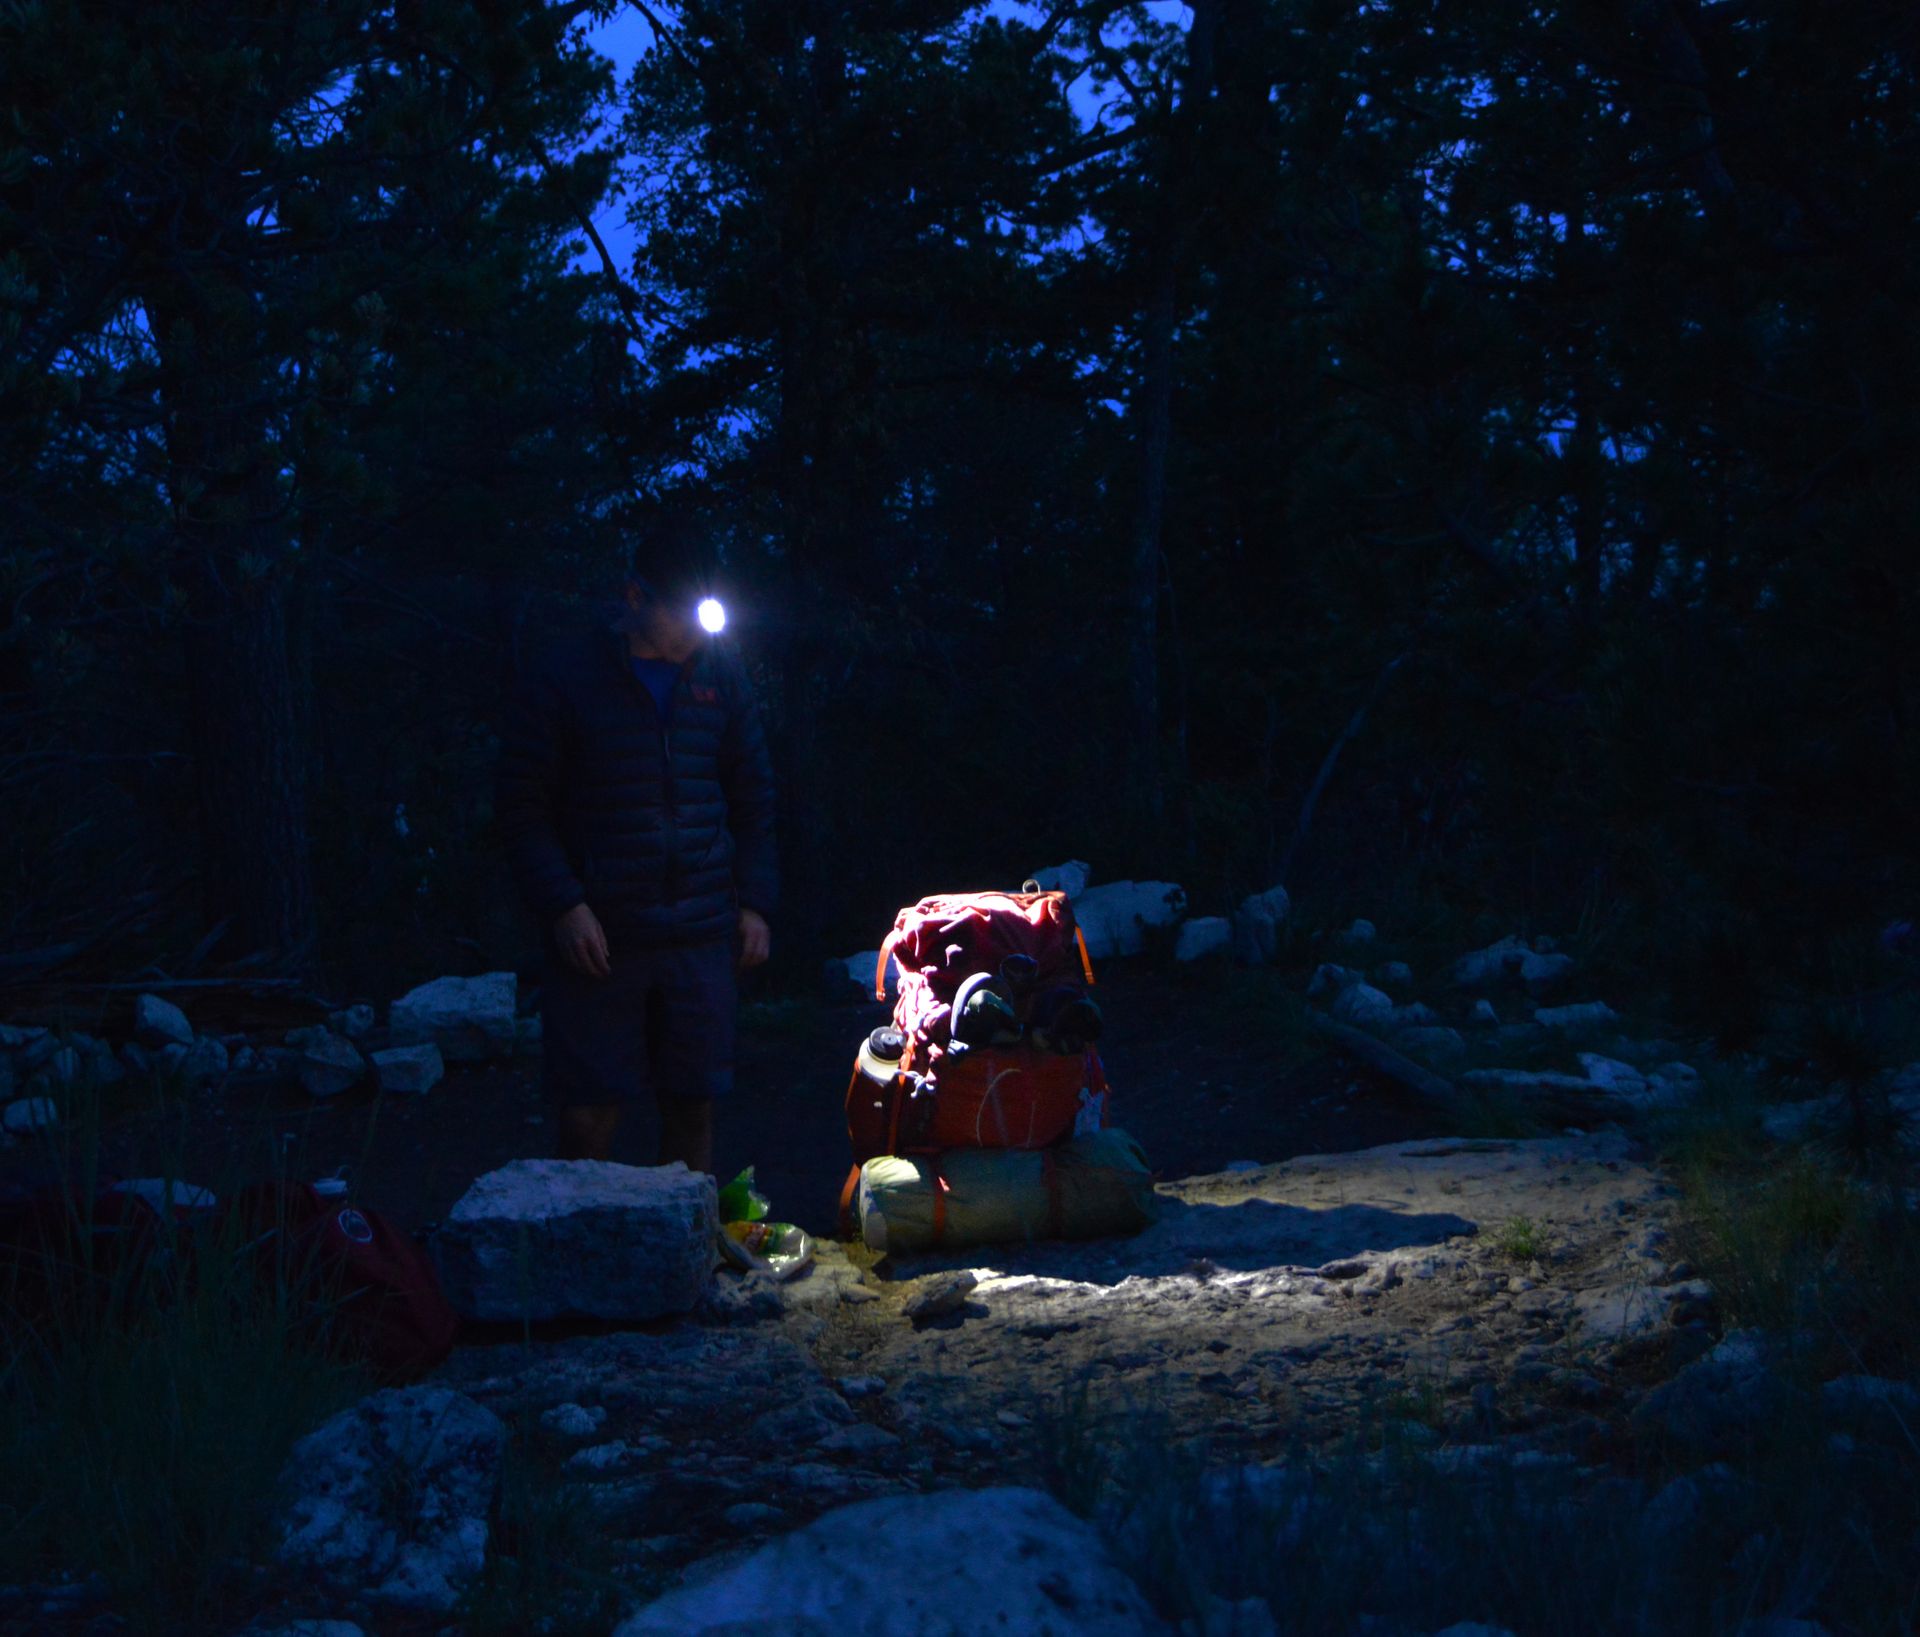
Something that we take for granted in normal life is the abundance of light. On the trail, we are transported back into the ancient era. A time where the light was only available during the day. Light is one of those underrated technologies that changed the course of humanity. In the blink of an eye, the working day went from 12 hours a day to 24. Humanity doubled time of productivity. On the trail, this luxury we have all come to rely on doesn't exist, for this reason, a headlamp is incredibly important. If you get into your campsite late, you need both your hands and light to set up your tent. In case of emergencies at night, your headlamp could potentially save you. And during those long nights, it is nice to have a book and a reading lamp to keep you company.
First Aid:
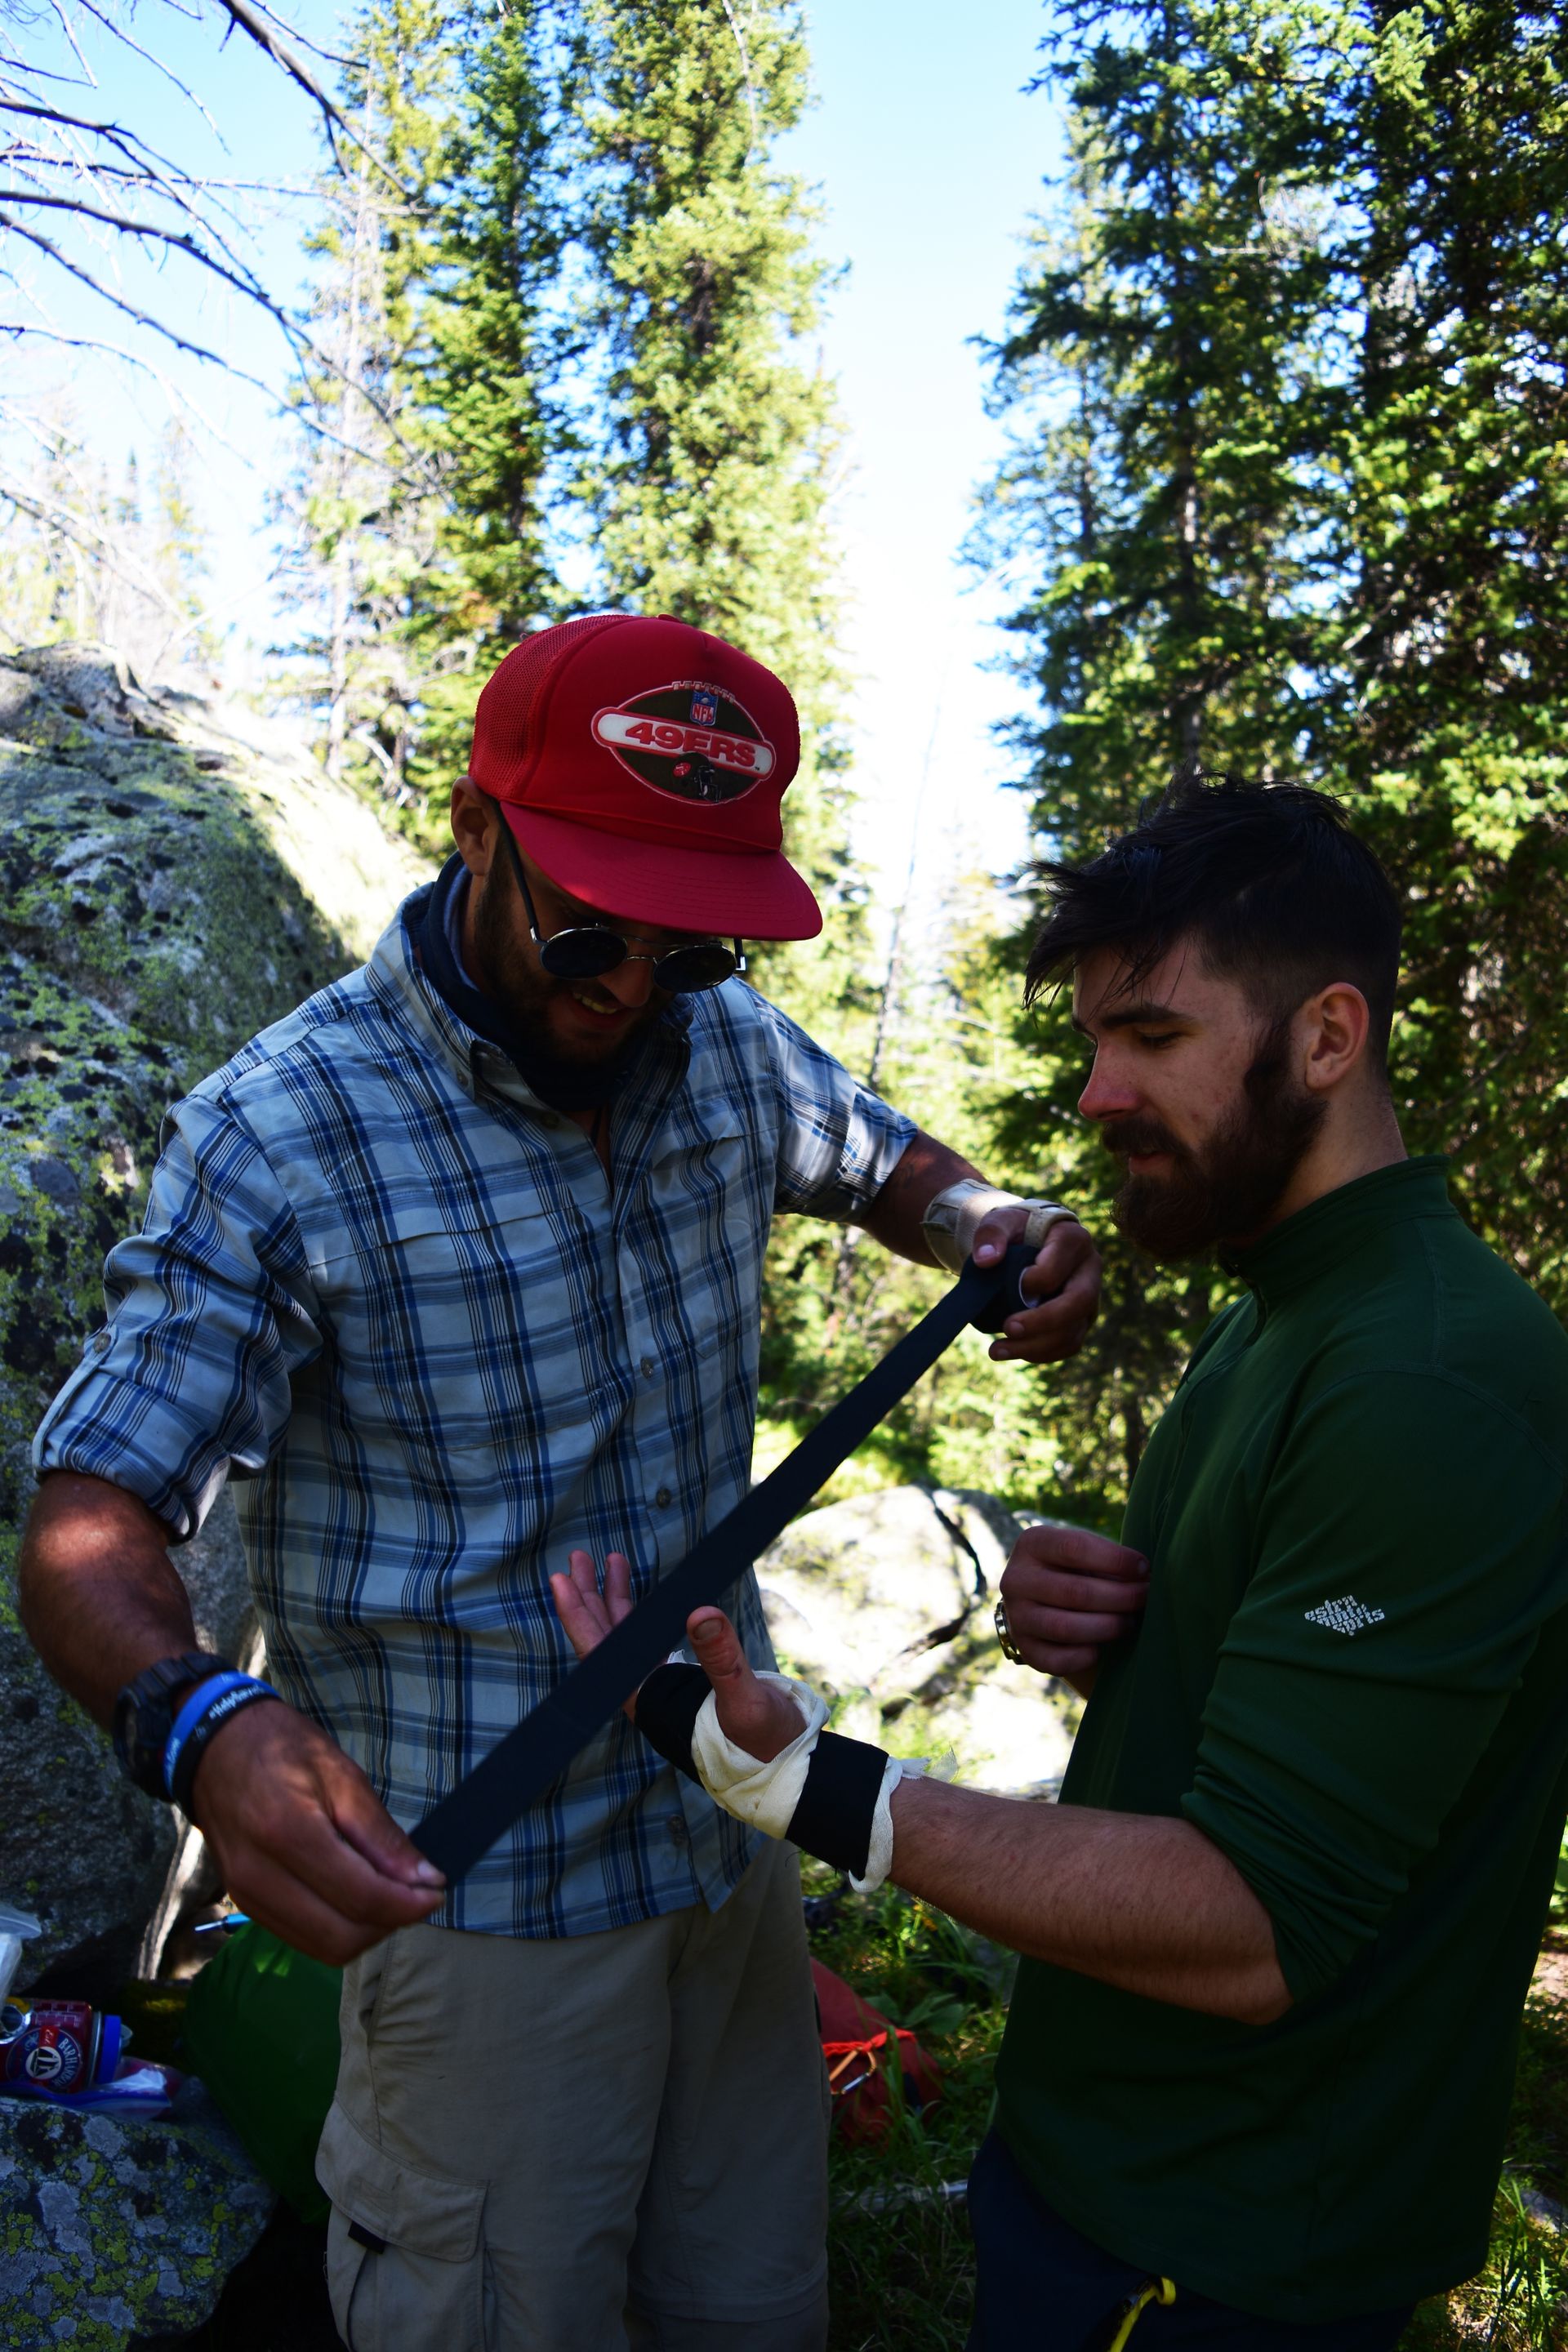
You never know what might happen out on the trail. One of the most intimidating facts about backpacking is that getting hurt could be the difference between life and death - and that's not even being dramatic. Being serious about safety is a necessity. If you are hiking in the mountains thirty miles from the nearest road and something happens to you, chances are you are going to be on your own. If you are conscious of where you step and don't test your luck, then you may never have to use your first aid kit. Out of all the miles I have hiked, we have been forced to use our first aid kit once, and it was worth carrying it all that time. Even the simplest items can help. Some bandaids, gauze, pain reliever/fever-reducing meds, alcohol wipes, and moleskin will probably come in handy. Super lightweight first aid kids can be found everywhere from Walmart to Amazon.
Fire:
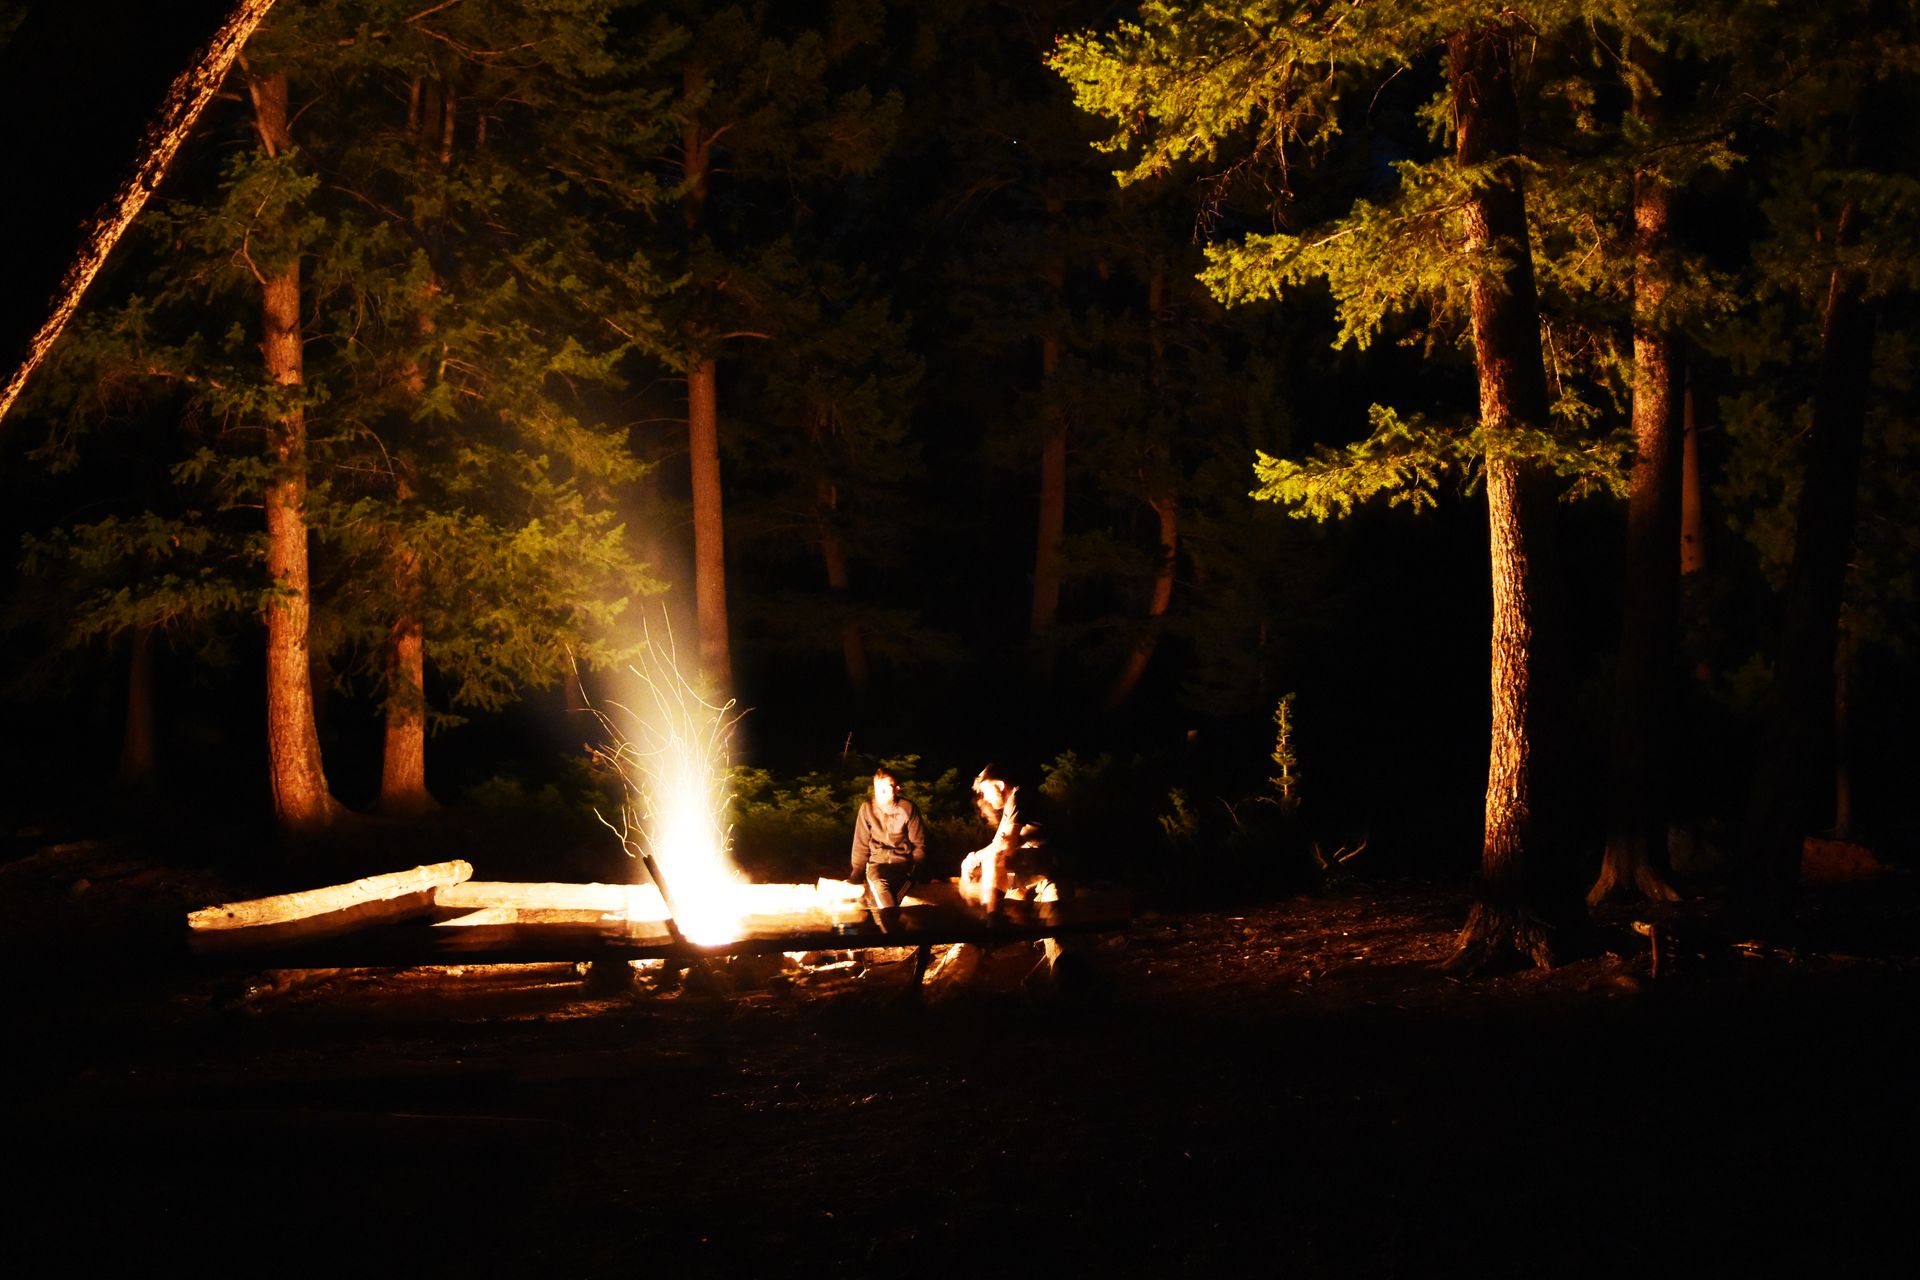
It can never be overstated how important fire is to us. Right beside the use of tools, the controlled use of fire may be one of the most significant discoveries humanity has ever made (if that is even what we were before fire). Fire has been a necessity to humanity for so long I am convinced it is simply an evolutionary adaptation. Without it, we really wouldn't make it long in any environment. We use it for warmth, protection, cooking, comfort, and illumination.
Most national parks and many state parks do not allow the construction of fires. It is, however, still vitally important to bring a fire source along for safety and emergency use only. Bring some waterproof matches and a lighter - you can probably even fit them into your first aid kit! Wildfires have ravaged the west for the last five years. They have been particularly bad this year. Because of this, and many other reasons, national parks have agreed that it is simply safe not to have fires. This is actually O.K. in the eyes of backpackers. We use stoves and Jetboils to cook our food and boil our water. Most of these stoves are extremely cheap and only require little butane or propane bottles for the fuel source.
Making a campfire is synonymous with hiking, and even sometimes I am tempted to make a fire to share stories around. On the few occasions we have made fires, we made sure to check with the rangers and the rules to make sure it was allowed. Even then we only made fires in designated fire pits. If you want to make a fire, make sure you follow all of the posted rules.
Backpack:
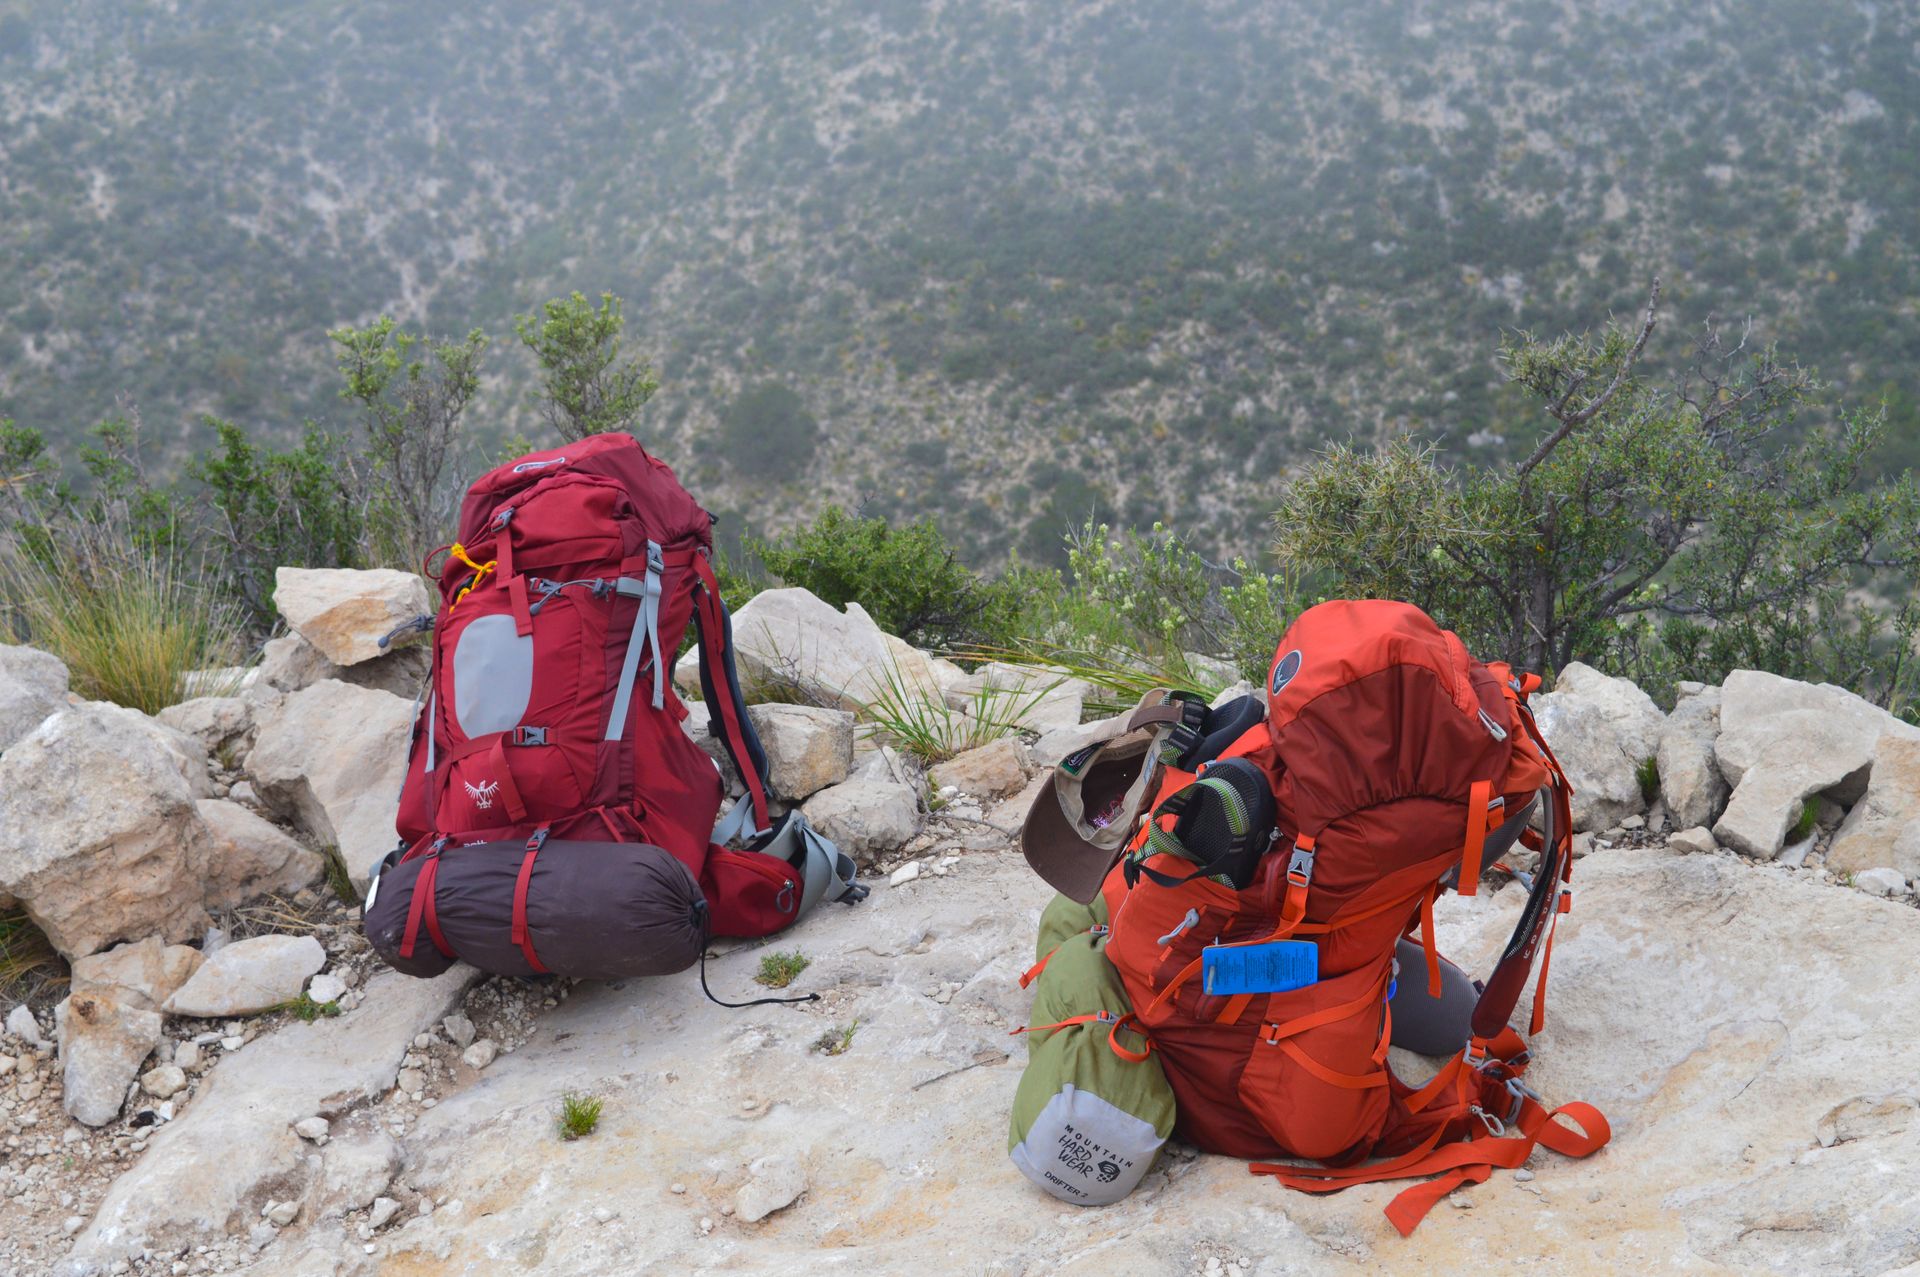
Just in the name of the sport the backpack you use is clearly important. It is your home, your pantry, your well, and your friend by the end of the trip. Getting the right backpack is extremely important. The fit, size, the make and model, all matter - but don't let that scare you away! I have used a number of backpacks and I have found that Osprey Bags are simply the best. The life-long warranty, the amazing durability, and the sleek look make Ospreys worth every penny. However, my 'cheap' backpack I started with (TETON sport fox5200) suited me well on many adventures. It was a bit uncomfortable, and not as sexy, but it got the job done.
There are plenty of options, but a general rule of thumb to consider is to look at the storage capacity of the backpack to determine how many nights out can hike with it at once. The size is almost always in the form of liters; for example, I hike with a 50L backpack, meaning I can stuff it full of provisions allowing me for multi-day hikes. A 25L backpack might be okay for a single night, but won't be able to carry enough gear for multiple nights (unless you are an experienced ultra-light backpacker).
Shelter:
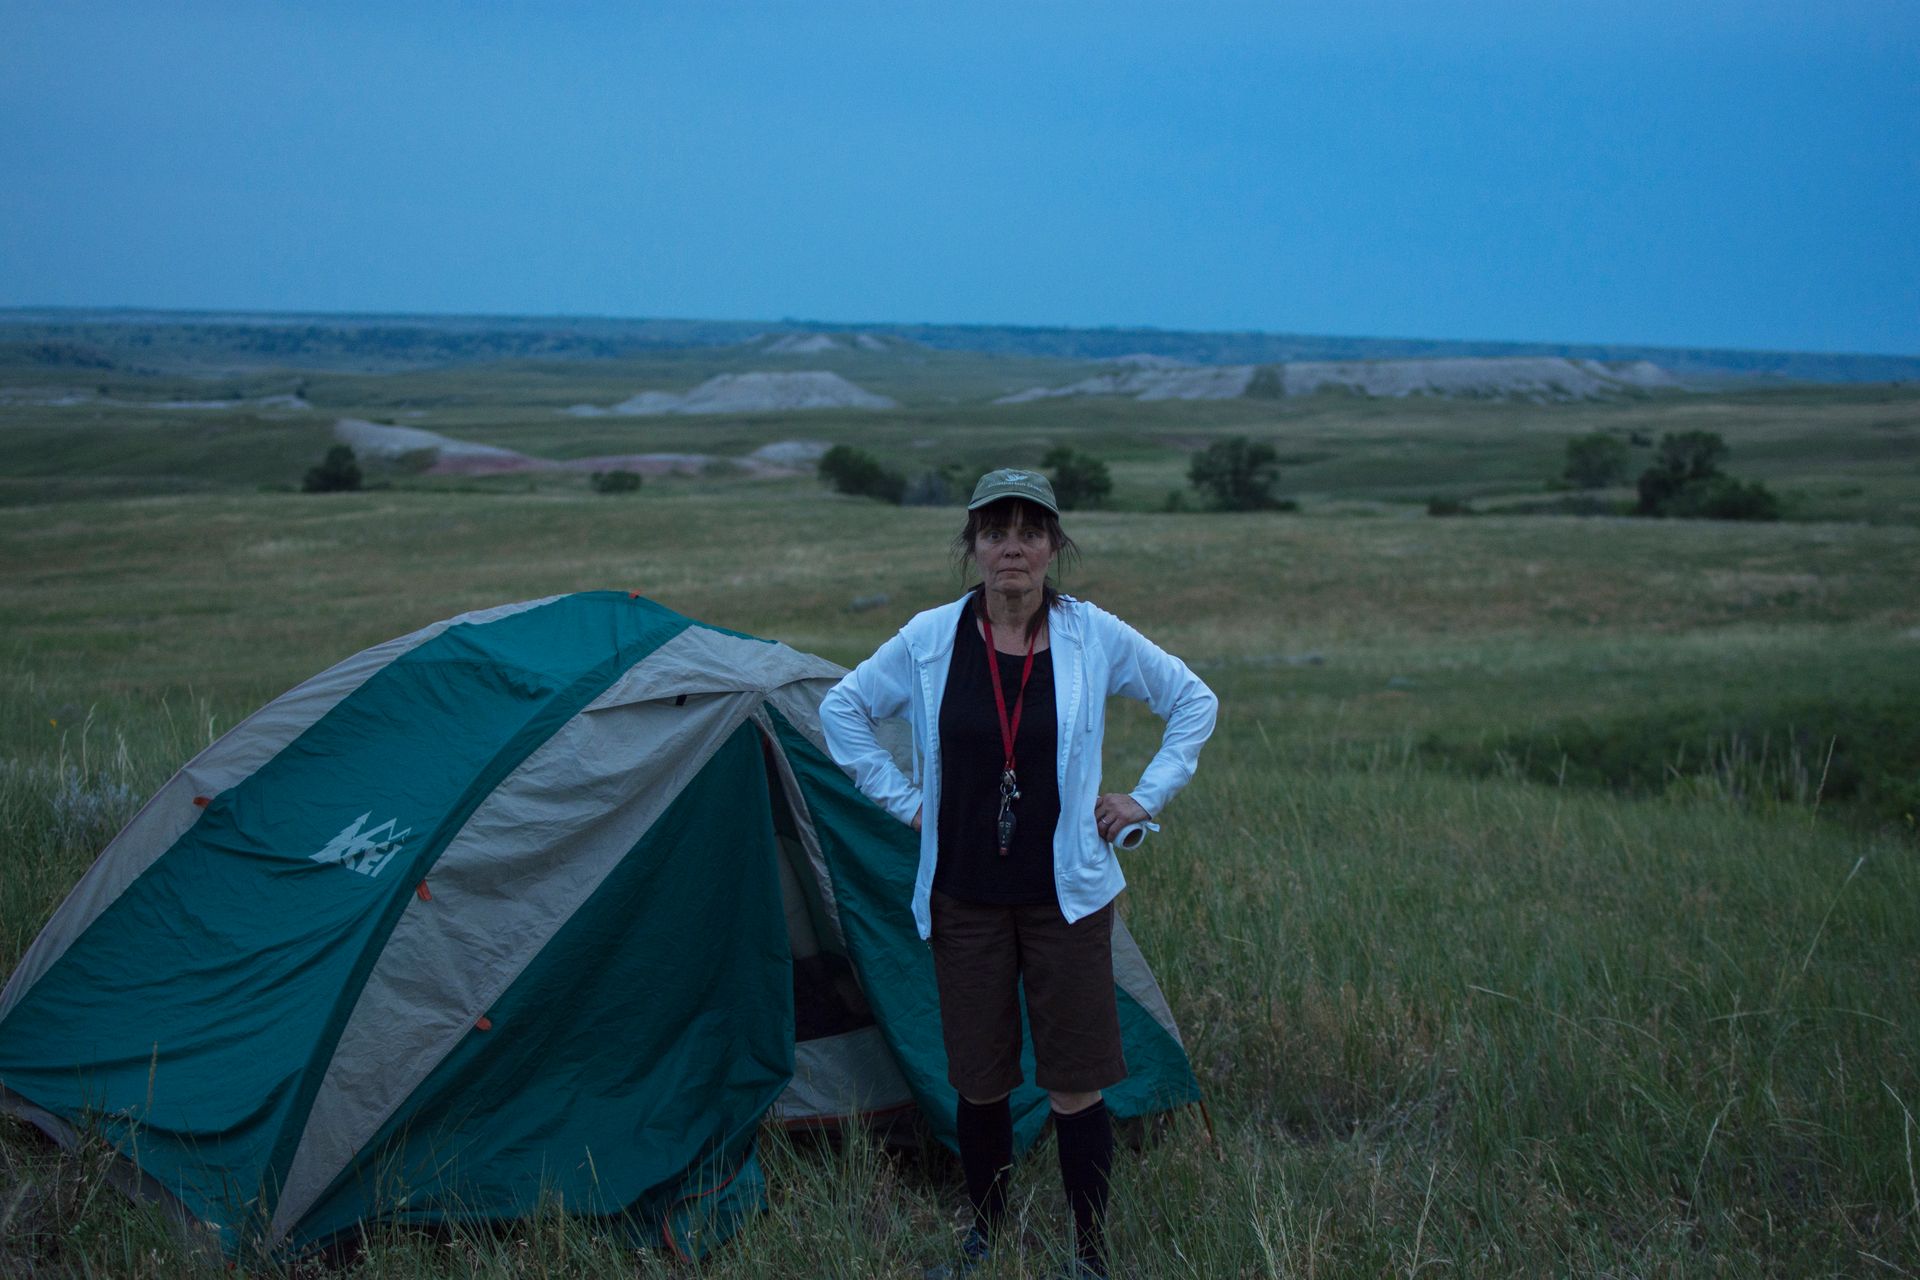
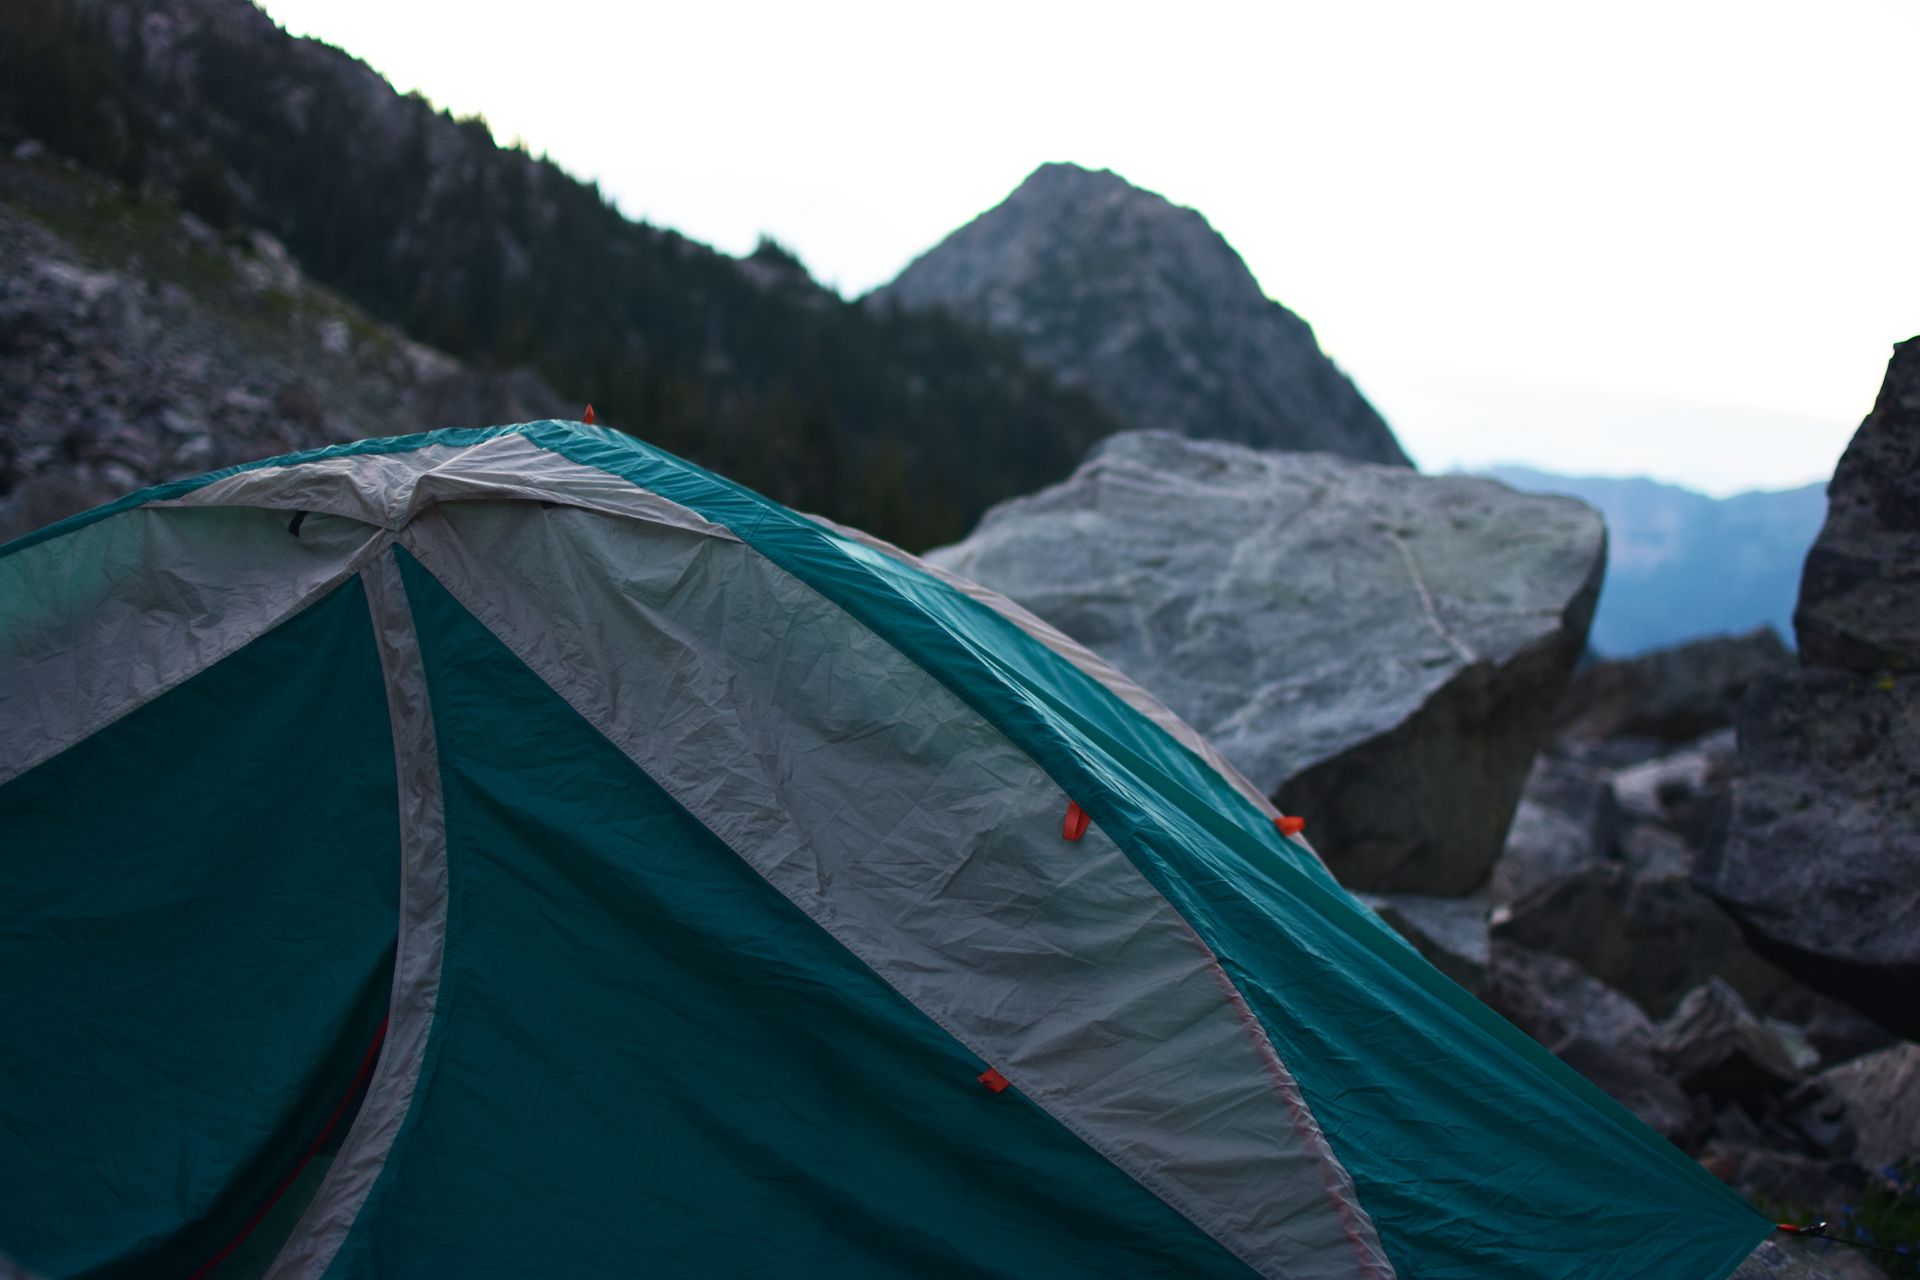
There are many types of shelter backpackers have come to adopt. Hammocks, framed tents, and free-standing tents are among the most popular. Hammocks are comfortable, easy to use, and extremely lightweight. However, hammocks are not allowed in many parks, either because the trees are not big enough, or because there are no trees. Freestanding tents are tents that use chords and strings in place of poles. Usually lighter than normal tents, they are limited to where you can set them up. I am partial to the classic, single person tent. It has never let me down, and extremely lightweight. Most of the time I don't even need to use the tent stakes.
Along with your tent, another part of your shelter is your sleeping bag. You want your sleeping bag to be warm and light. There are many options, but you generally want to have a sleeping bag that can go down to 15 degrees and is less than 4 pounds. That will keep you warm in spring, summer, and even fall in most places. The last item of shelter you may need is your footprint. The footprint is simply a piece of plastic that goes under your tent to protect it from rocks and sticks. You can buy a footprint that is the exact size of your tent, or you can use a small plastic tarp. (I have been using a $5 blue tarp for 5 years).

Food:
What you eat on the trail will become one of the most frequent questions you will be asked. And honestly, that is an easy answer: desperate college food. If you were anything like me, this would include Ramen noodles, granola bars, Nutella, and peanut butter. I wrote extensively in Willingness to Wander about what to eat on the trail, and I am sure I will have a dedicated blog post to eating, but generally, you want lightweight high-calorie foods. In some cases, food and nutrients require serious consideration, but for the most part, and for beginner's purposes, the simpler the better. For an overnight hike, or even if you are out on the trail for a few days, you will be able to carry more than enough to satisfy both your hunger and your taste buds. It is when you start considering extended back county trips when you have to be careful about food. Try a few overnight hikes to test various dinners. I have had some really nice dinners in the bush, it depends on whether or not you want to carry all of the food with you.
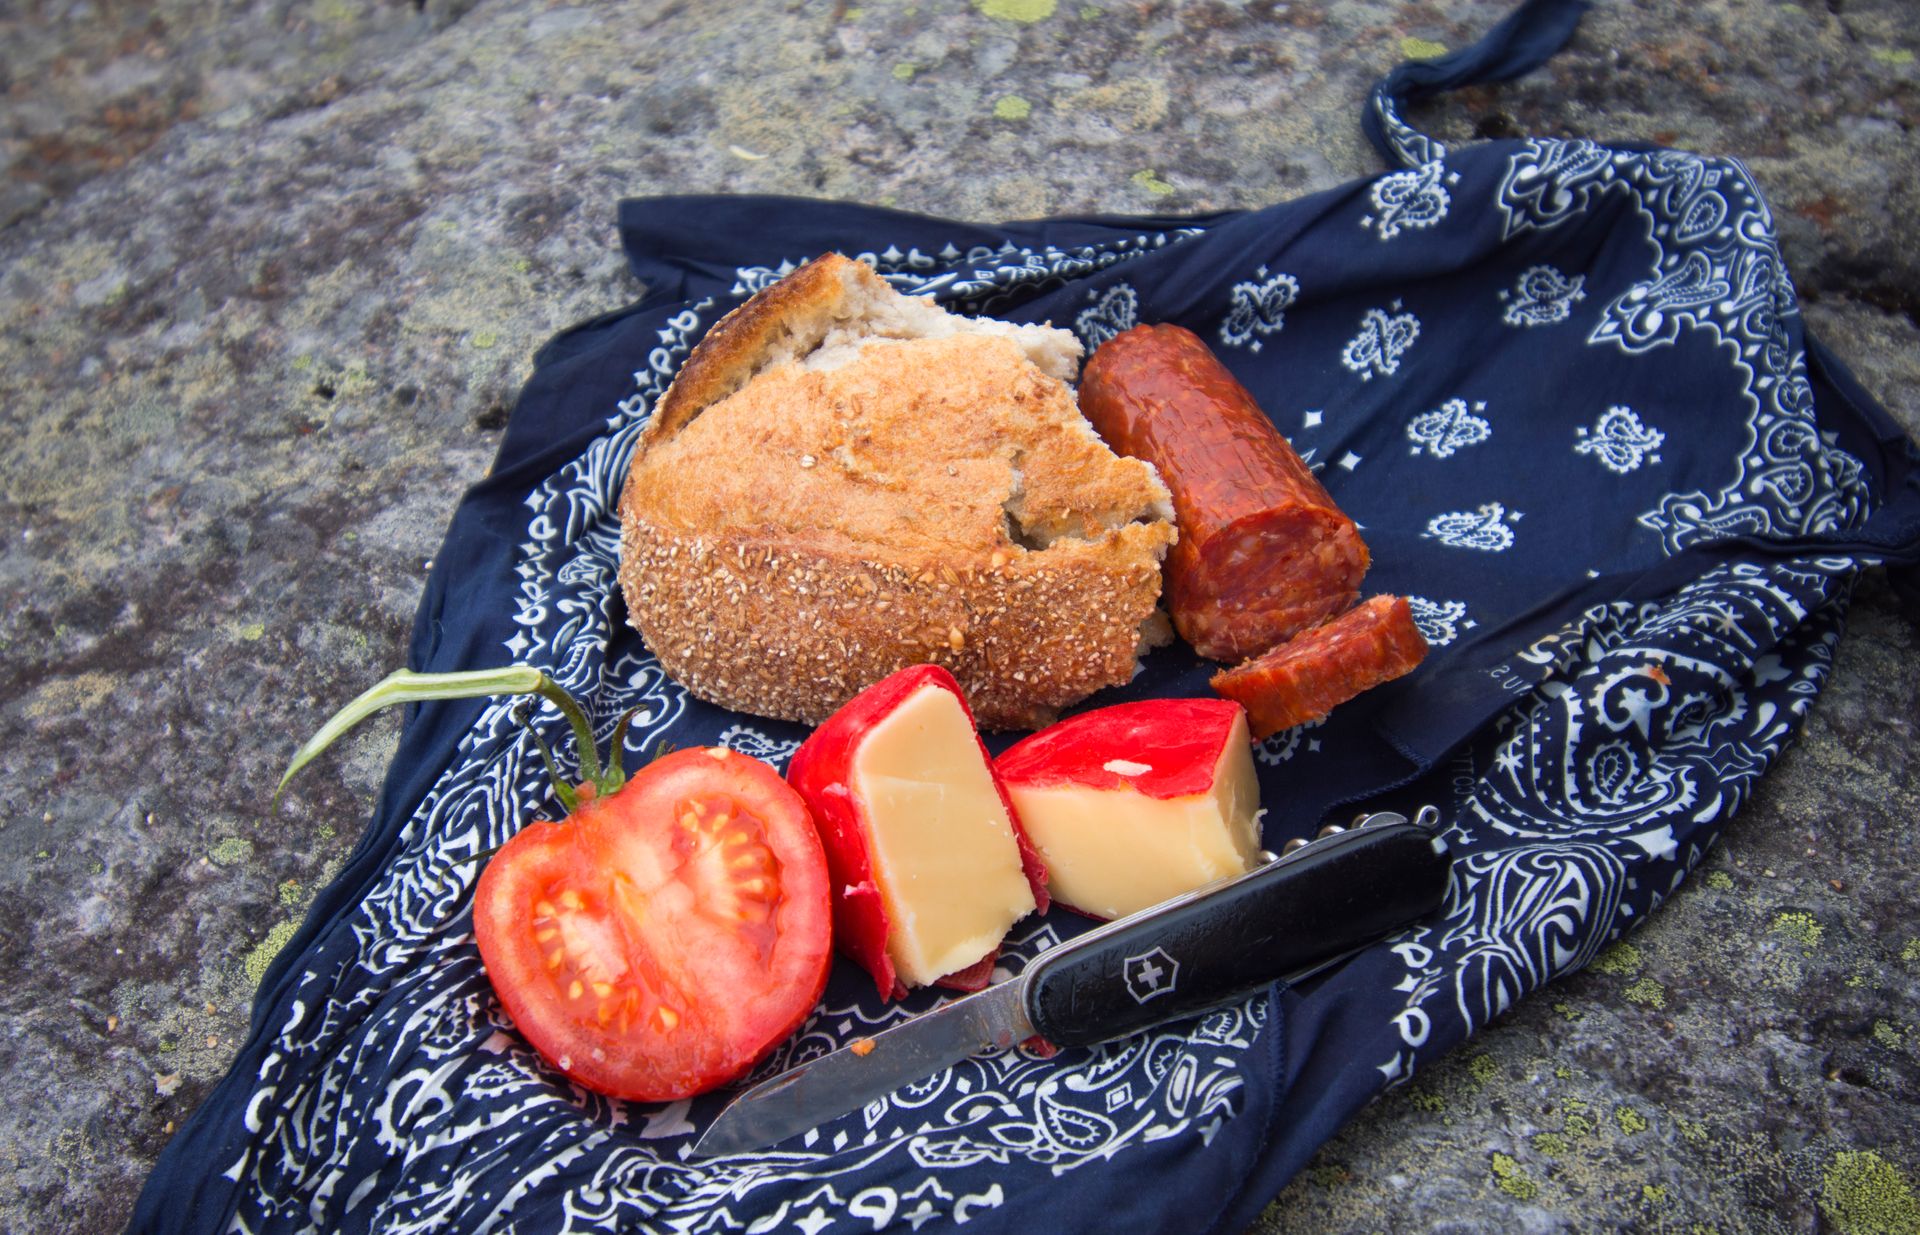
If you do decide to cook, you'll need a few things, particularly: a bowl, utensils, a small pot, a stove, fuel, and a mug. I always seem to forget to bring a bowl and end up eating out of my mug most of the time... but that's okay! Hiking gear is getting better and better every year. You can find collapsible, lightweight stove pots, rubber bowls, and even muti-utensil tools for relatively cheap. After cooking, it is important to keep everything clean. Make sure to use camping soap (other soaps are not environmentally friendly), and a small towel to dry everything with. If you fail to keep your foodstuffs clean, not only could it make you sick, but the leftover bits of food will certainly attract all kinds of critters.
The guys and I, during an overnight hike at Big Bend, convinced ourselves that we were going to "eat like kings". We hauled up an impressive amount of food including carrots, potatoes, spices, and different meats, and that night we did, in fact, eat like kings. Our dining room was on the cliff of the South Rim and our chandelier the faintest stars that started the night's regular show. That was an irregular night. On my very next overnight trip, my friend and I decided to do the complete opposite. All we brought for the hike were a few boxes of granola bars and some trail mix. At the end of the hike, both methods satisfied us long enough to make it to the nearest restaurant. Overnight hikes are perfect experiment grounds for trying new trail cuisines. You'll learn your likes and dislikes quickly.
Clothing:
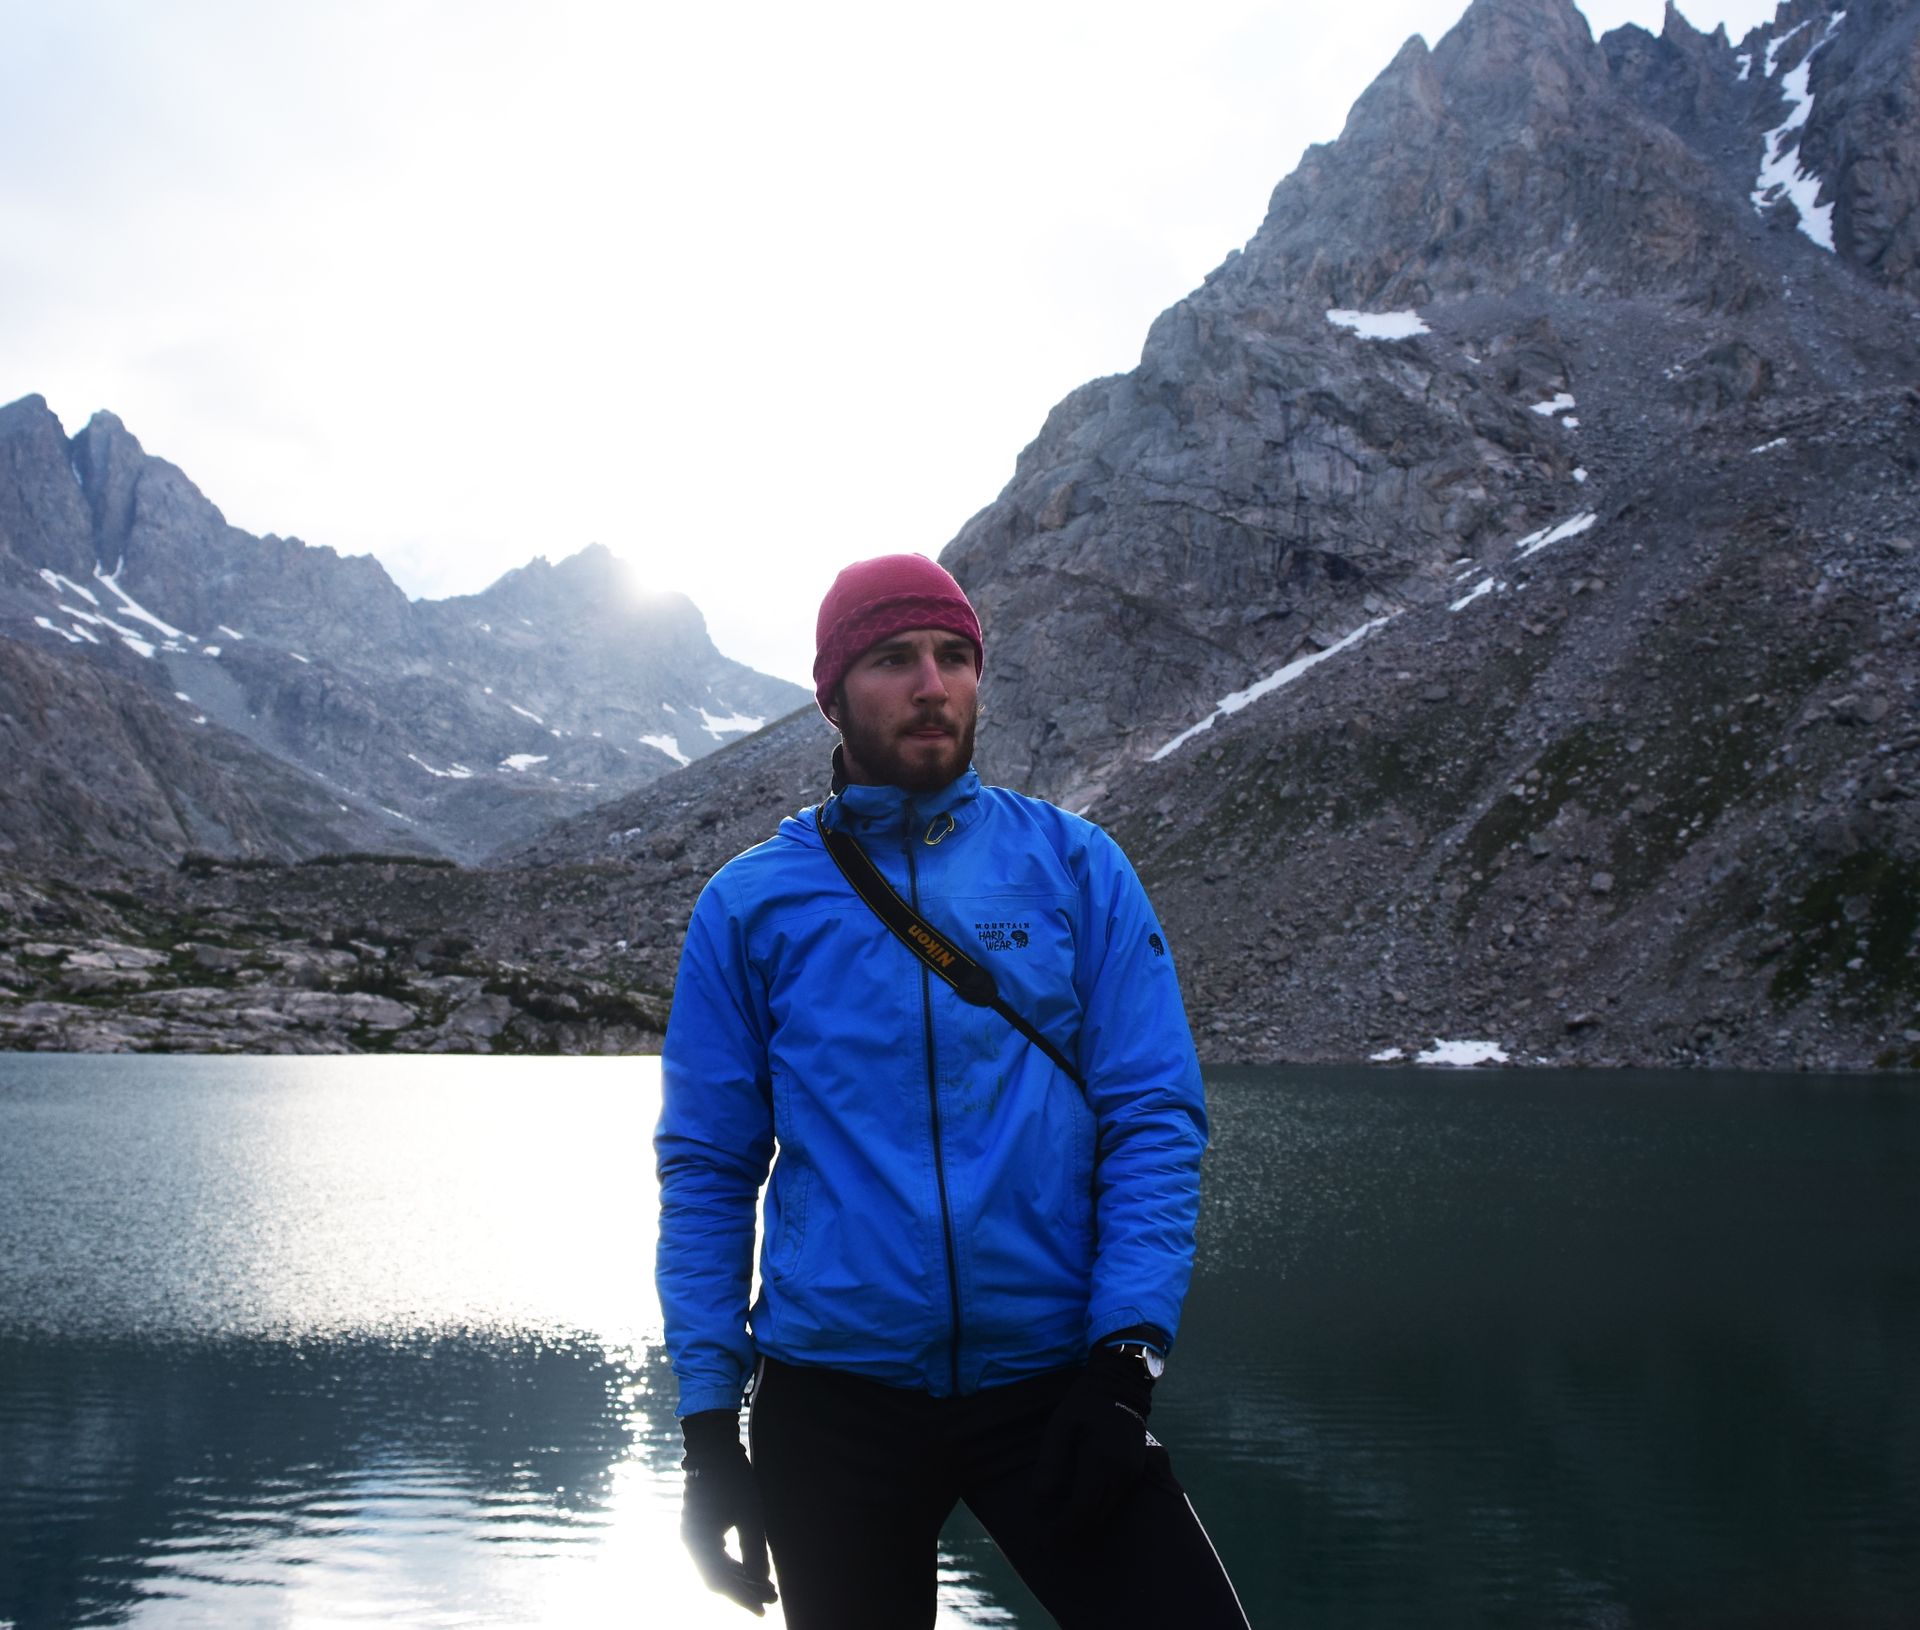
Temperature can vary wildly in the wilderness. During the day, deserts can reach into the hundreds of degrees and suddenly drop at night into the 20s. A bright, warm day can change into freezing hail on the mountainside, and a cool rain can leave you freezing in the early spring or late fall. What you wear is extremely important to your comfort and well being on the trail. Like everyone else says, you want layers. You want a tough outer shell, a warm inner lining, a moisture-wicking undershirt, comfortable underpants, warm socks, a hat, and definitely some mittens. Make sure everything is synthetic and quick drying. Don't underestimate how cold night can get, and how hot summer can be. Footwear is also extremely important. I used to prefer boots, but have made the switch to hiking shoes - it is a personal choice mostly.
Permits:
With the hike, time, and gear handled, the next step is obtaining permits. Almost every national park, state park, and recreational area require some sort of permits for overnight camping, wilderness areas and some national forests do not require them (but it is always good to double-check). When you arrive at the park, the first stop should always be the visitor’s center. The rangers are always helpful and willing to answer any questions you might have, including current trail conditions, water conditions, and expected temperatures and weather. They will also be able to help you with the permits, or if it's a popular park or busy season, they will direct you to the permit center. The ranger will have you fill out some simple paperwork and go over some rules. They will also charge you a nightly fee (I have the price be anywhere from 3-12 dollars a night), the fee usually covers the party and not per person - still cheaper than a hotel room. Once the fee is paid and the paperwork filled out, they’ll usually give you a tag to put on the outside of your backpack.

Navigation:
On your way out of the visitor’s center pick up a map of the area you are going to be in or for the whole park (usually around 8-12 dollars). National park trails are usually very well maintained and marked, as long as you stick to the trail you won’t need any specific map reading or orientation skills, simply looking at the map and the trail makers will give you a good idea of where you are - they are very easy to navigate.
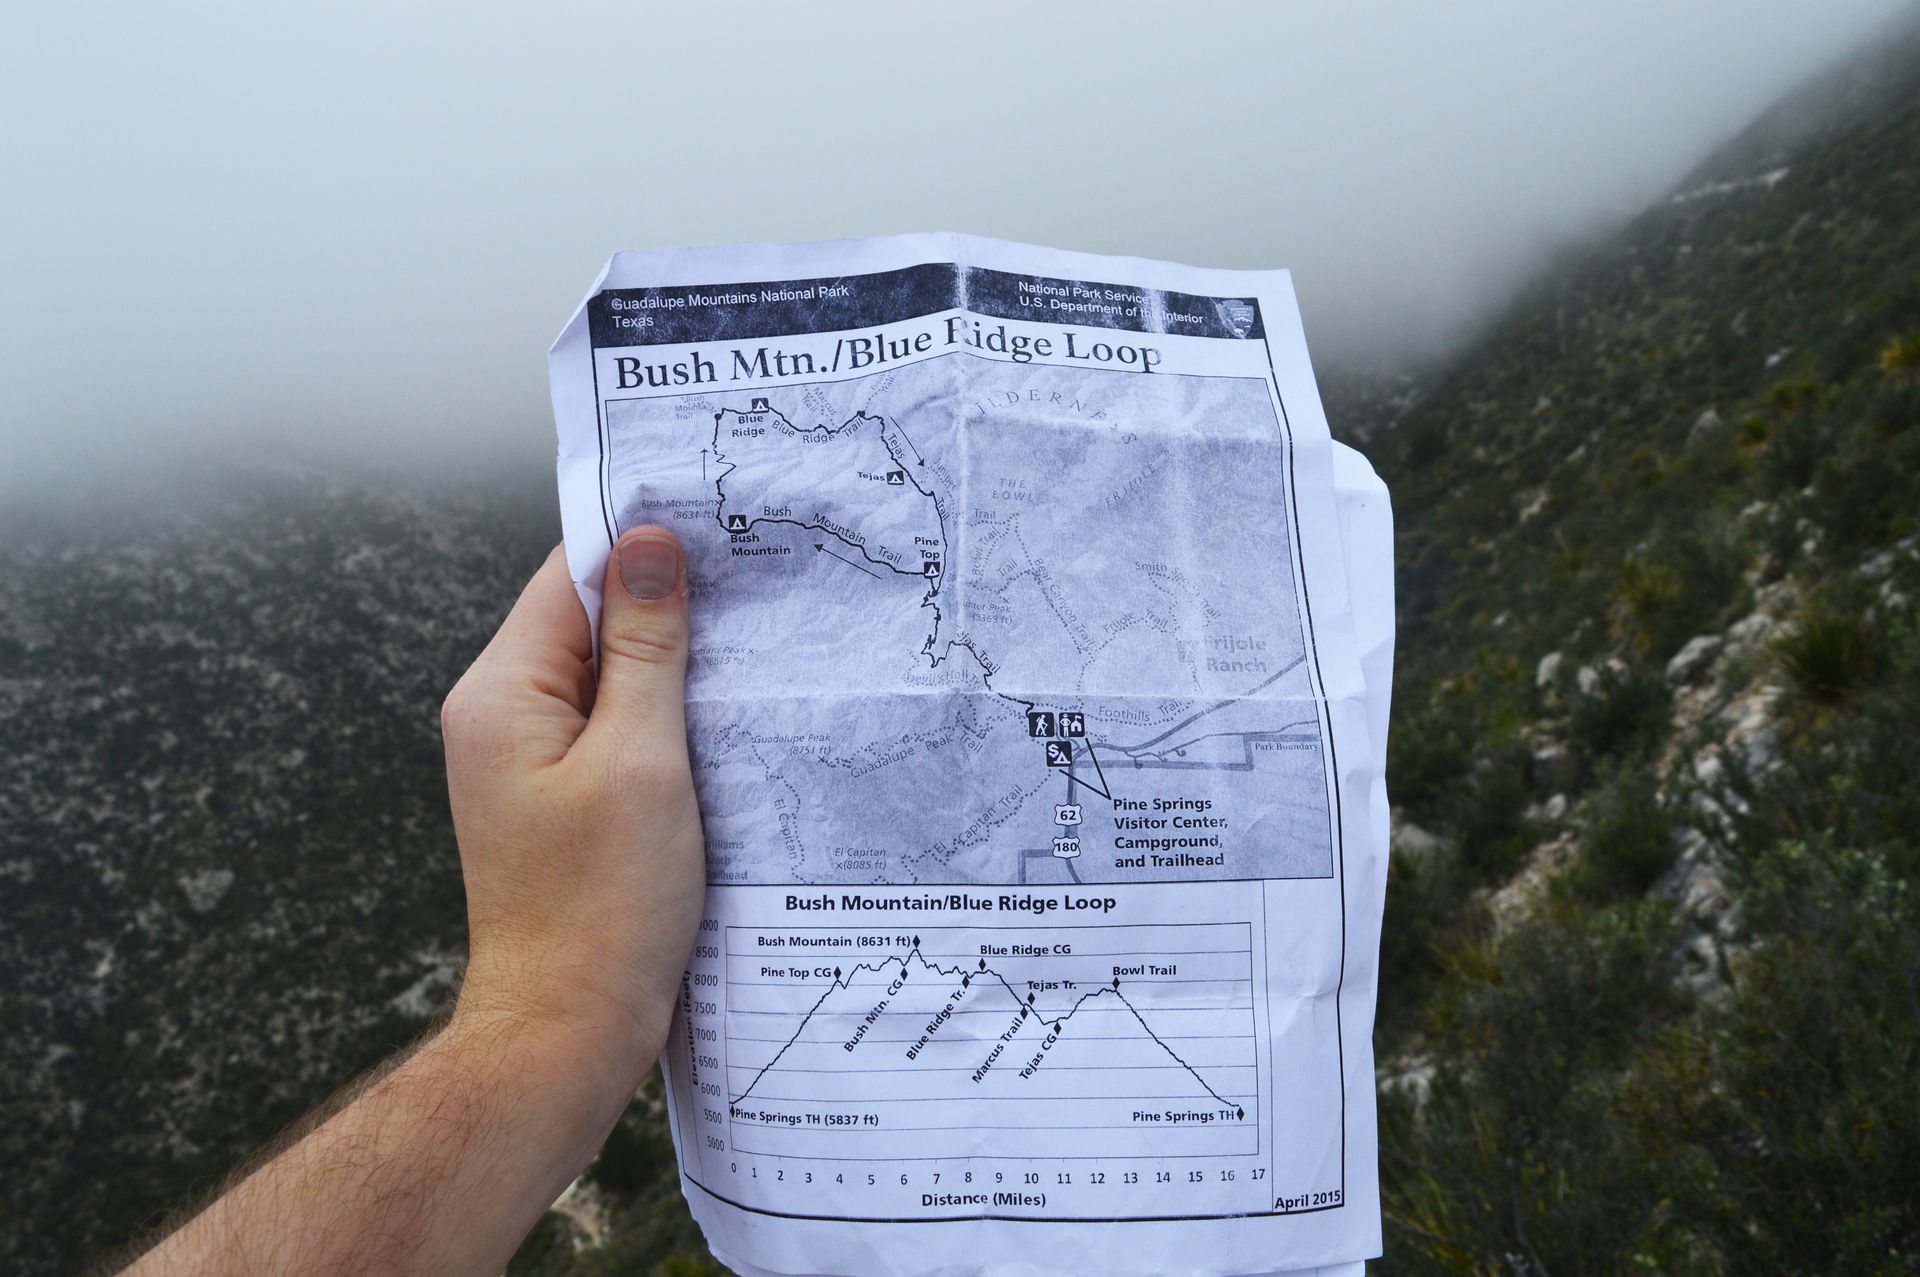
These skills will be vital when exploring wilderness areas or trips that require you to go off the trail. I have also found that the maps make for great keepsakes after trips. Many of the maps for specific trails can also be found online (most of the time for free).
Nonessential Items
If you cover the essentials, most everything else is for personal pleasure or hobbies. I bring along my camera, most people bring journals or books. Bringing other technology can be helpful, small solar power panels are light and cheap, and can usually charge any USB device. Before leaving for a trip, make a list and lay everything out to make sure you have everything. Even missing one of the essential items can ruin a trip or make a trip end in disaster. After the first few trips, the essential items will be natural. You'll be able to pack and unpack for any trip within minutes.
Your First Step
It's ironic that the most challenging part of a hobby compromised entirely of taking steps is taking the first one. The first step on the trail is when you let all of your preparation go on autopilot, and you get to enjoy whatever nature has in store for you as you take the next 10,000. Each and every trip will be different and require different planning, but most trips will let you reuse lists, gear, and plans, it gets easier with every adventure. This guide is simply a start to planning backpacking trips. If I have left anything out please let me know! Enjoy your trip, and be safe!